Musical Flip Toy
-
Build a musical flip toy that plays Twinkle Twinkle at night and You Are My Sunshine during the day.

This tutorial was based on the tutorial developed by Casey Rawson and has been modified to perform on the LilyPad
Arduino 328 Main Board. This circuit device uses a light sensor to determine which song and LEDs to play. The buzzer
and LEDs are connected to the light sensor and light up or play a song based on the amount of light the sensor receives.
Flipping the day and night panel of the toy will control which song and LEDs are played.

| Component | Quantity | Description | Where to Buy |
|---|---|---|---|
| Fabric Scraps 12”x12” (non-stretch such as felt or cotton) | 3 | 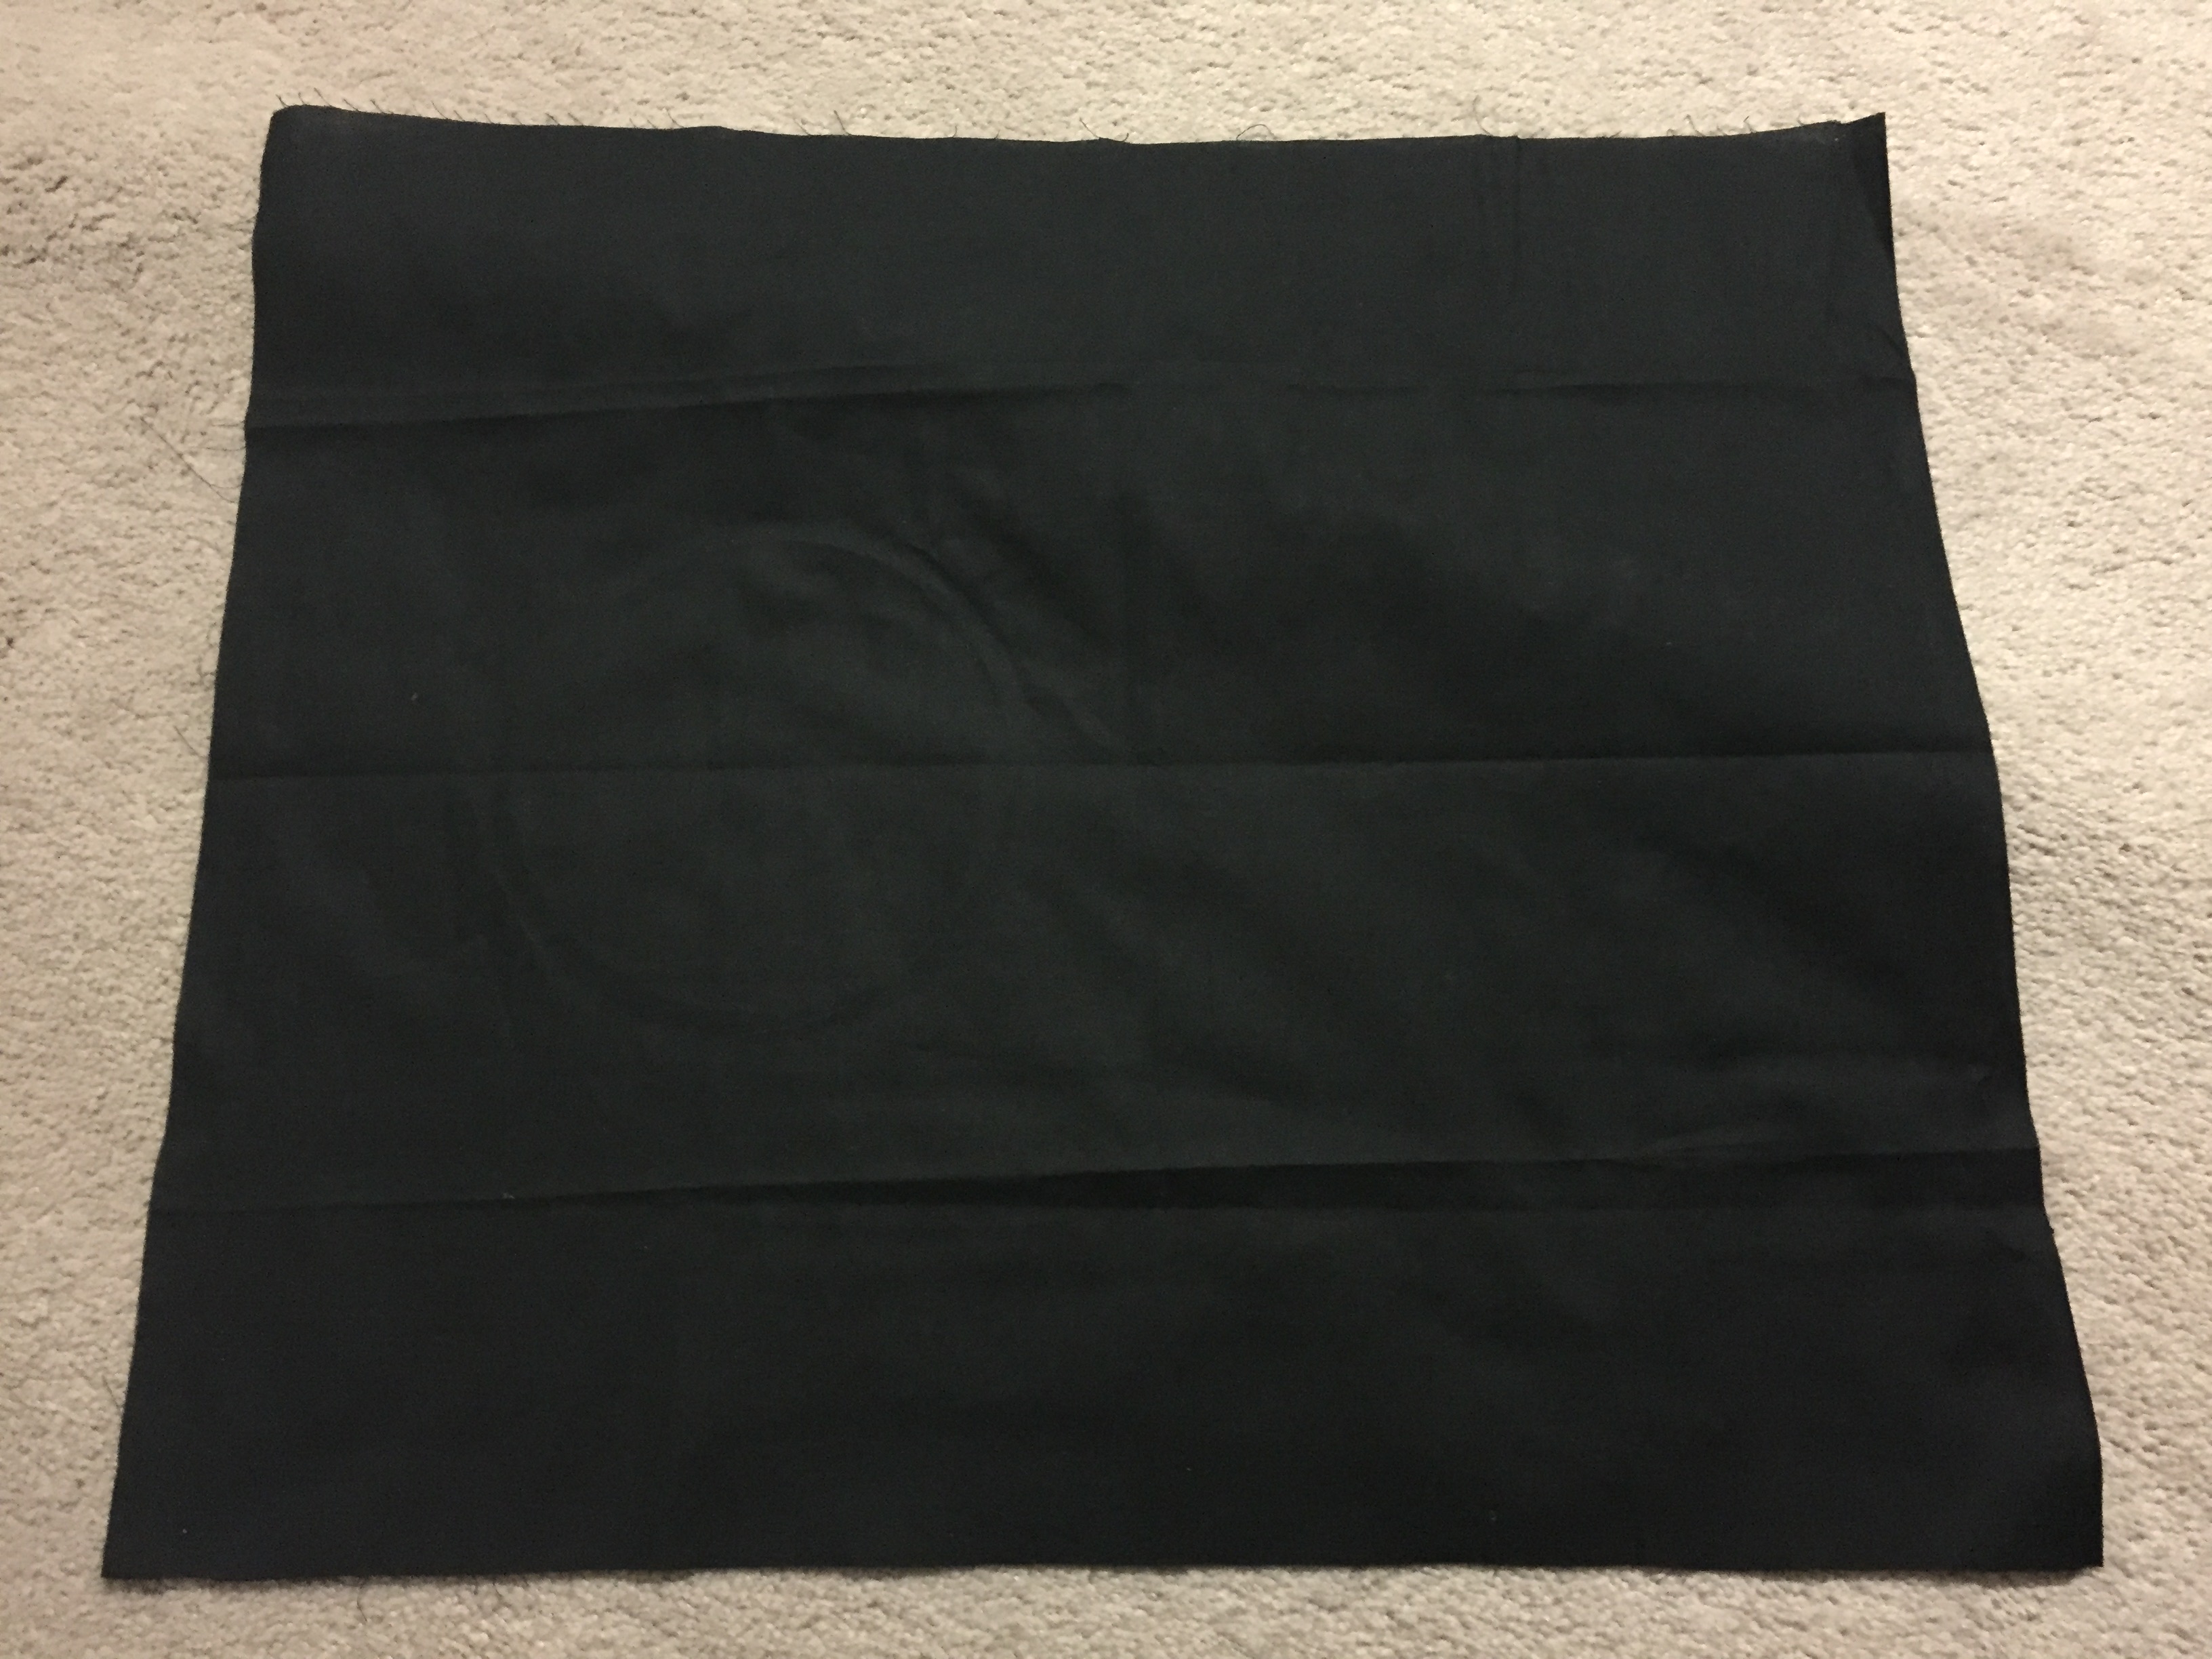 |
Local Variety Store |
| 2 sq. ft. fusible fleece or Felt | 1 |  |
Local Craft's Store |
| Black Thread (one roll) | 1 |  |
Local Variety Store |
| Sewing Needle | 1 |  |
Local Variety Store |
| Fabric Glue | 1 | Local Variety Store | |
| Stickers (for decoration) | As many as desired |  |
Local Variety Store | LilyPad Arduino 328 Main Board | 1 | 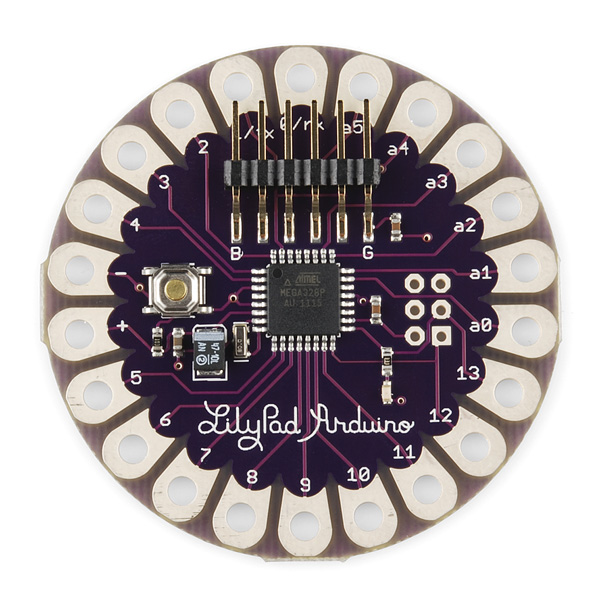 |
SparkFun Electronics | White LilyPad LEDs | 6 | 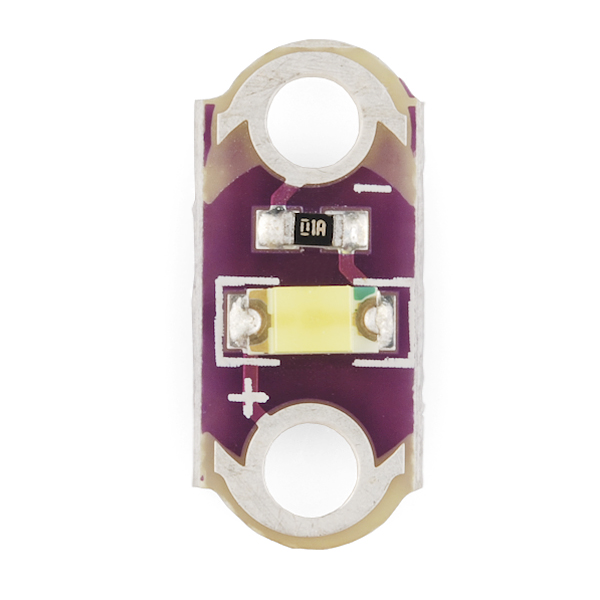 |
SparkFun Electronics | CR2032 Coin Cell Battery | 1 |  |
Local Variety Store | LilyPad Coin Cell Battery Holder - Switched | 1 | 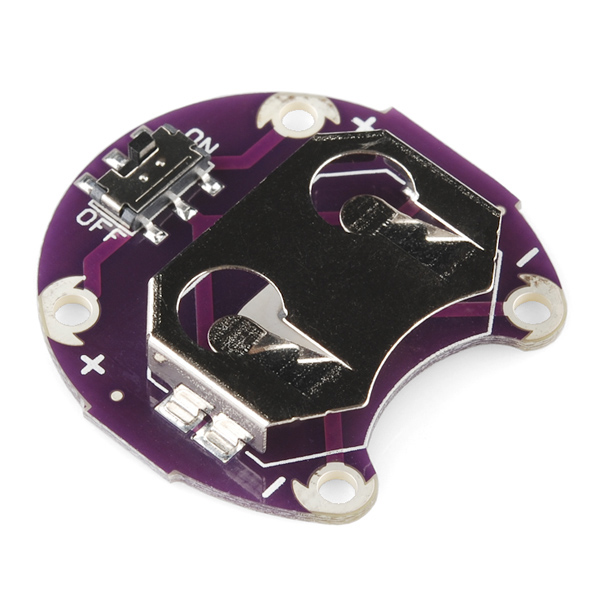 |
SparkFun Electronics | Conductive Thread | 1 | 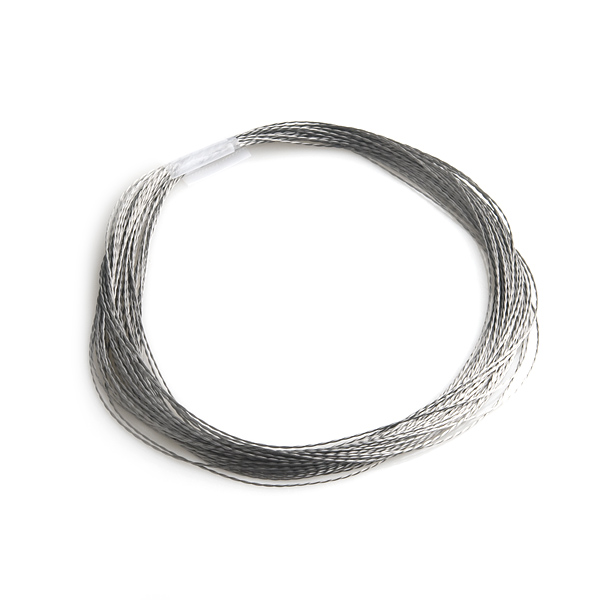 |
SparkFun Electronics | 30 AWG Solid Wire - 50 ft. | 1 | 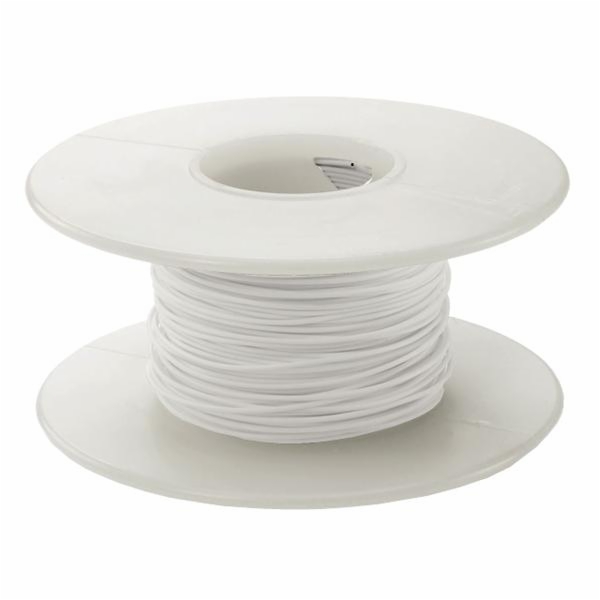 |
Canada, USA | LilyPad Light Sensor | 1 | 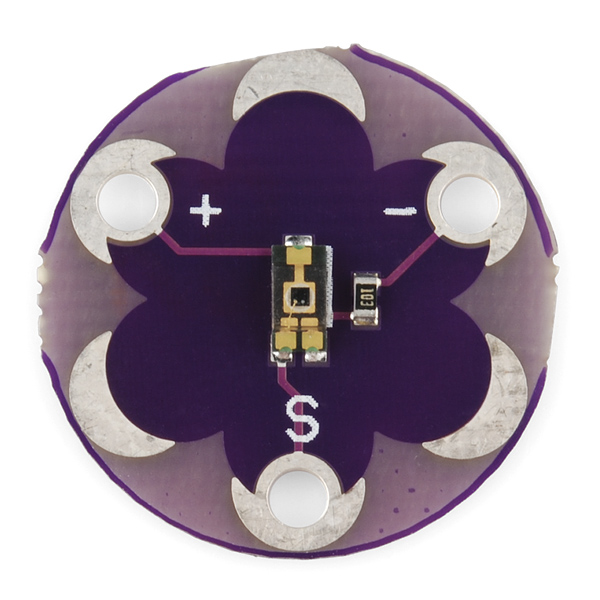 |
SparkFun Electronics | LilyPad Buzzer | 1 | 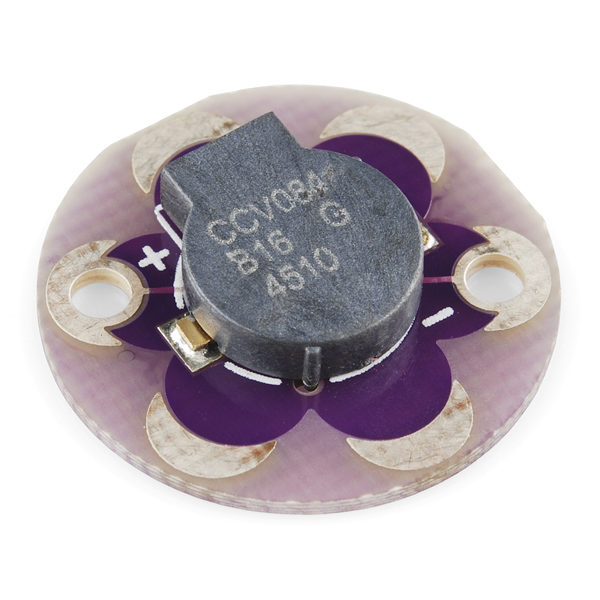 |
SparkFun Electronics | LilyPad FTDI Basic Breakout - 5V | 1 | 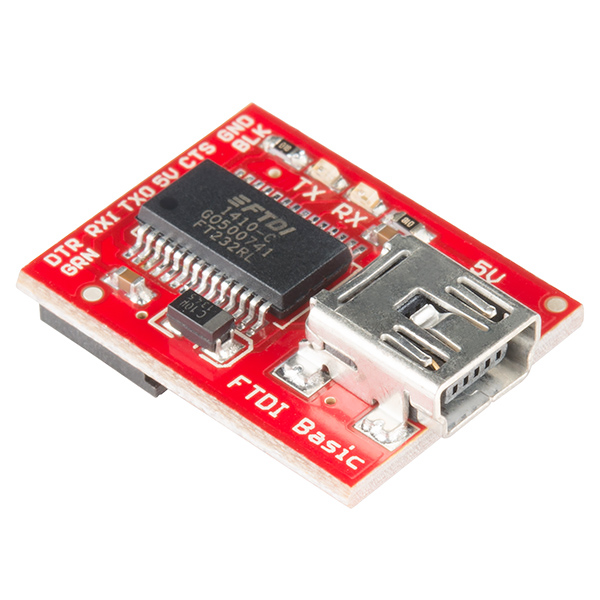 |
SparkFun Electronics |
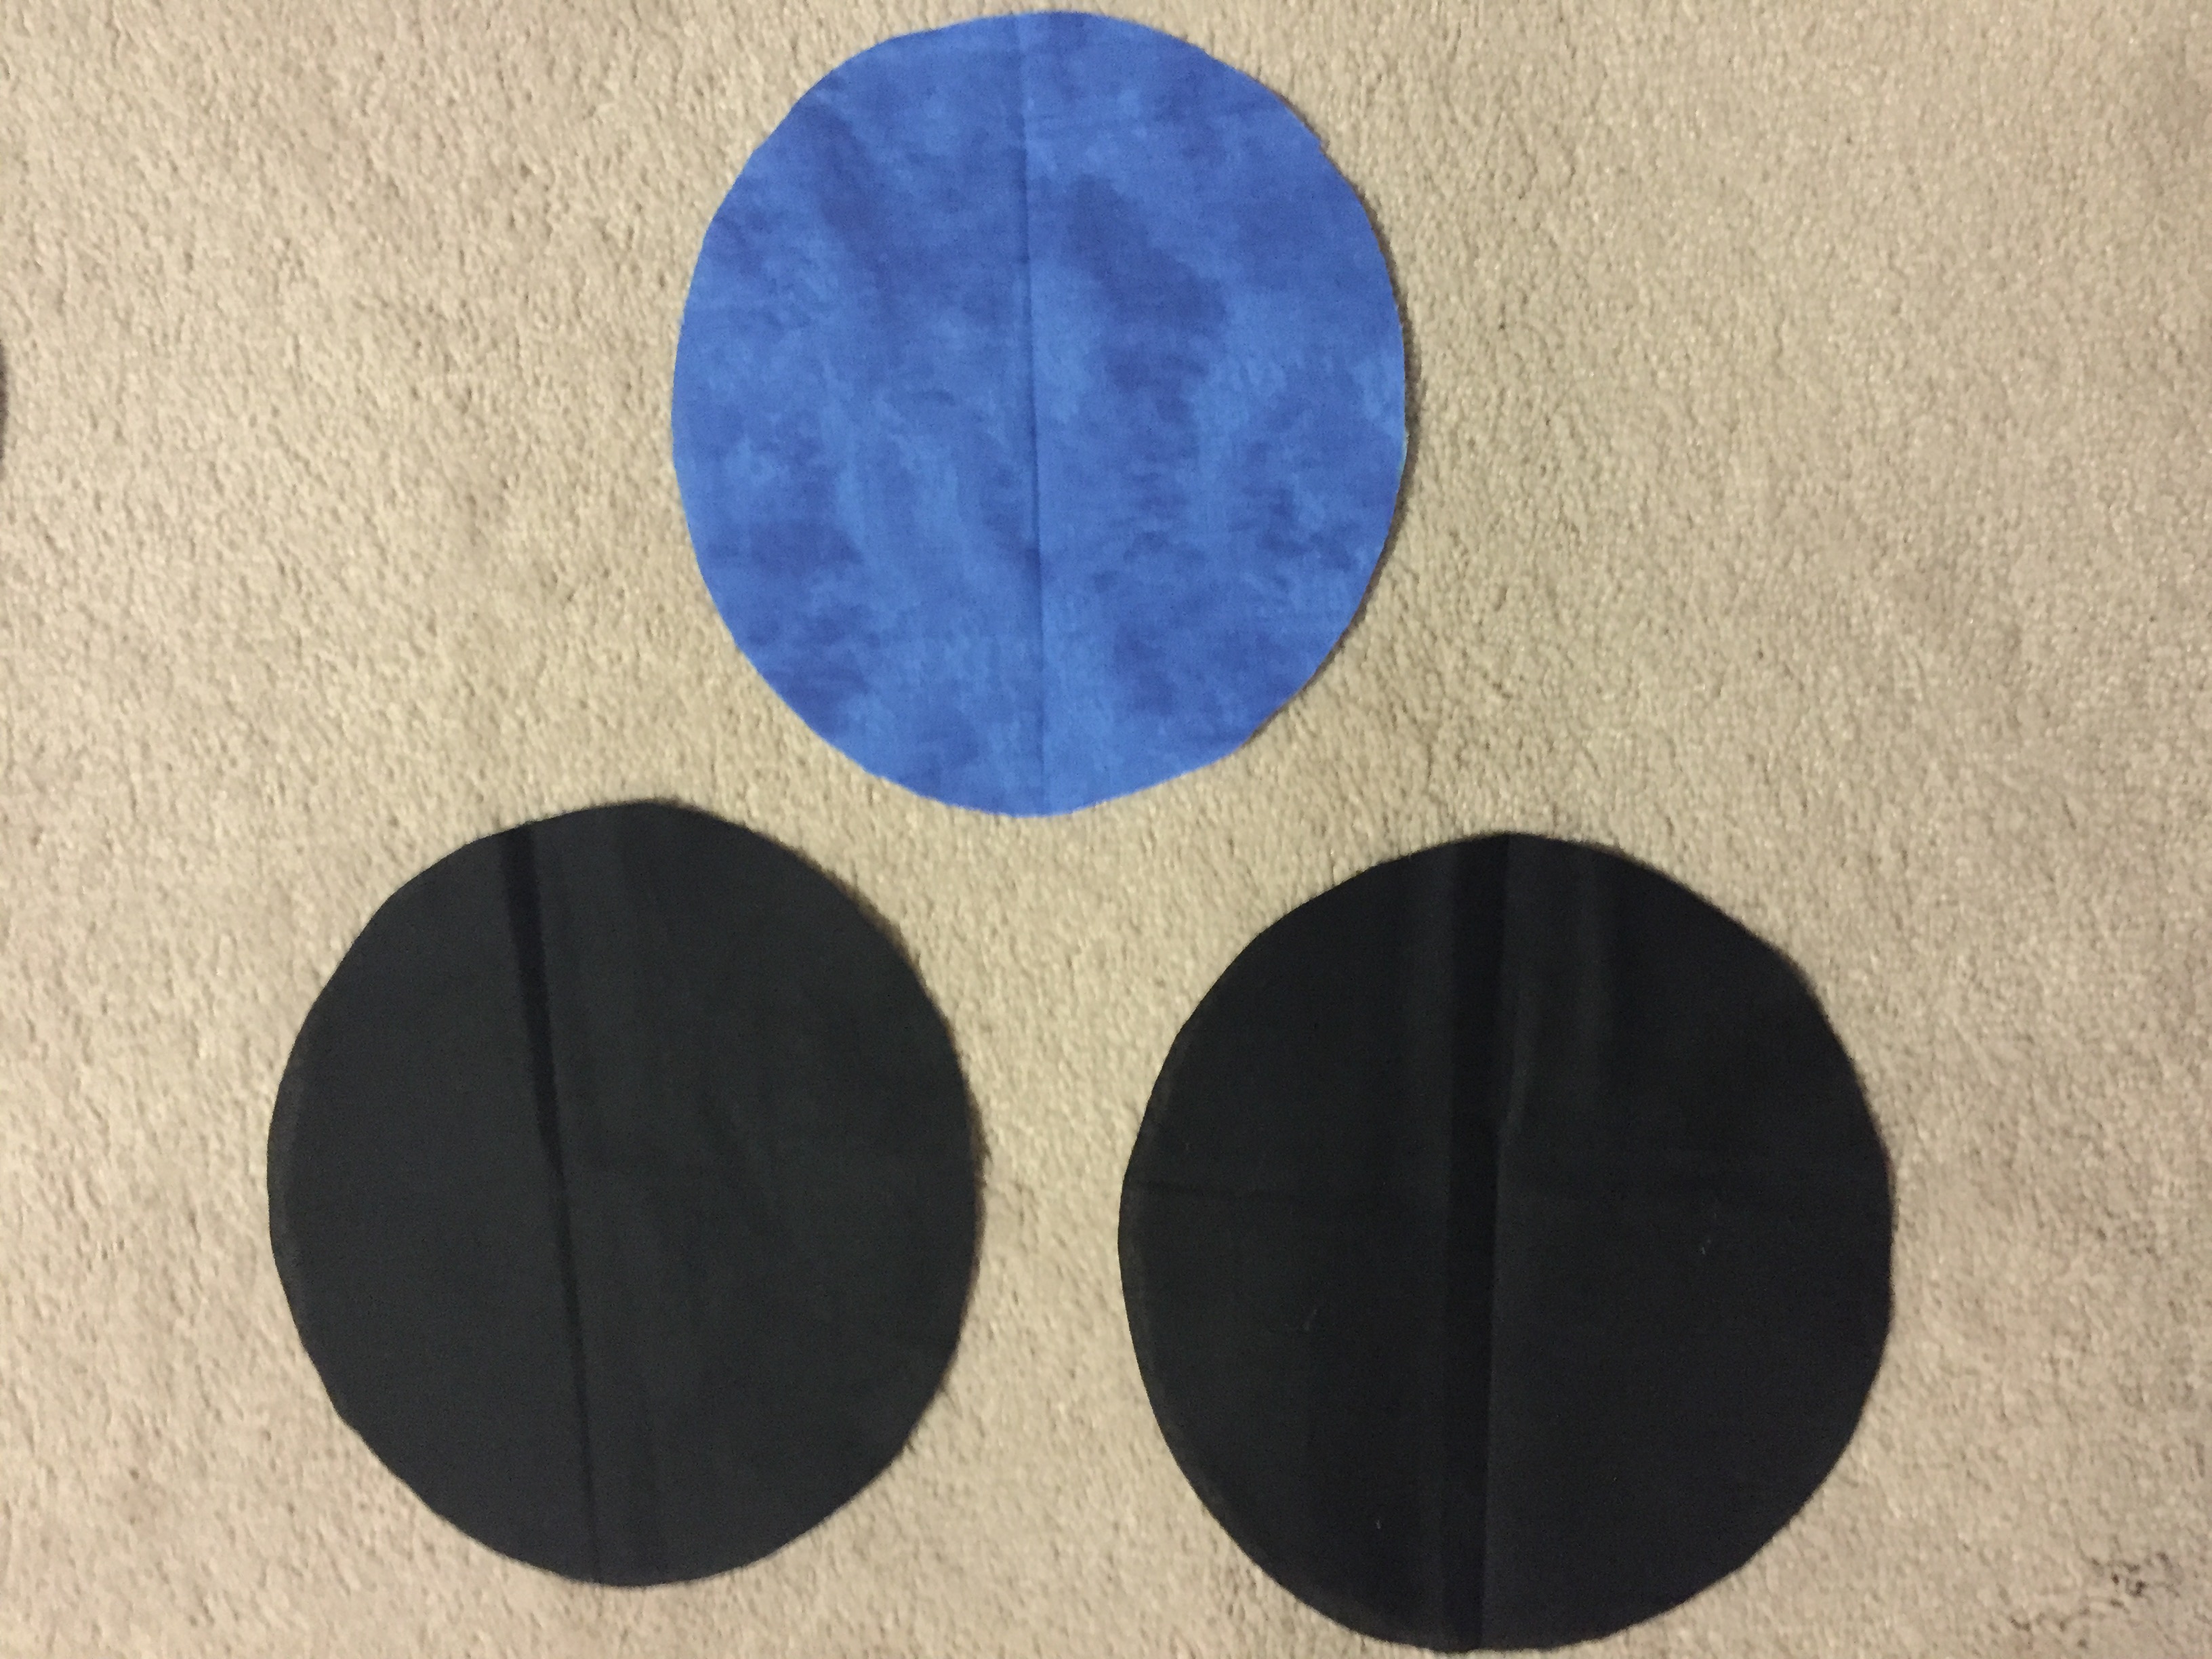
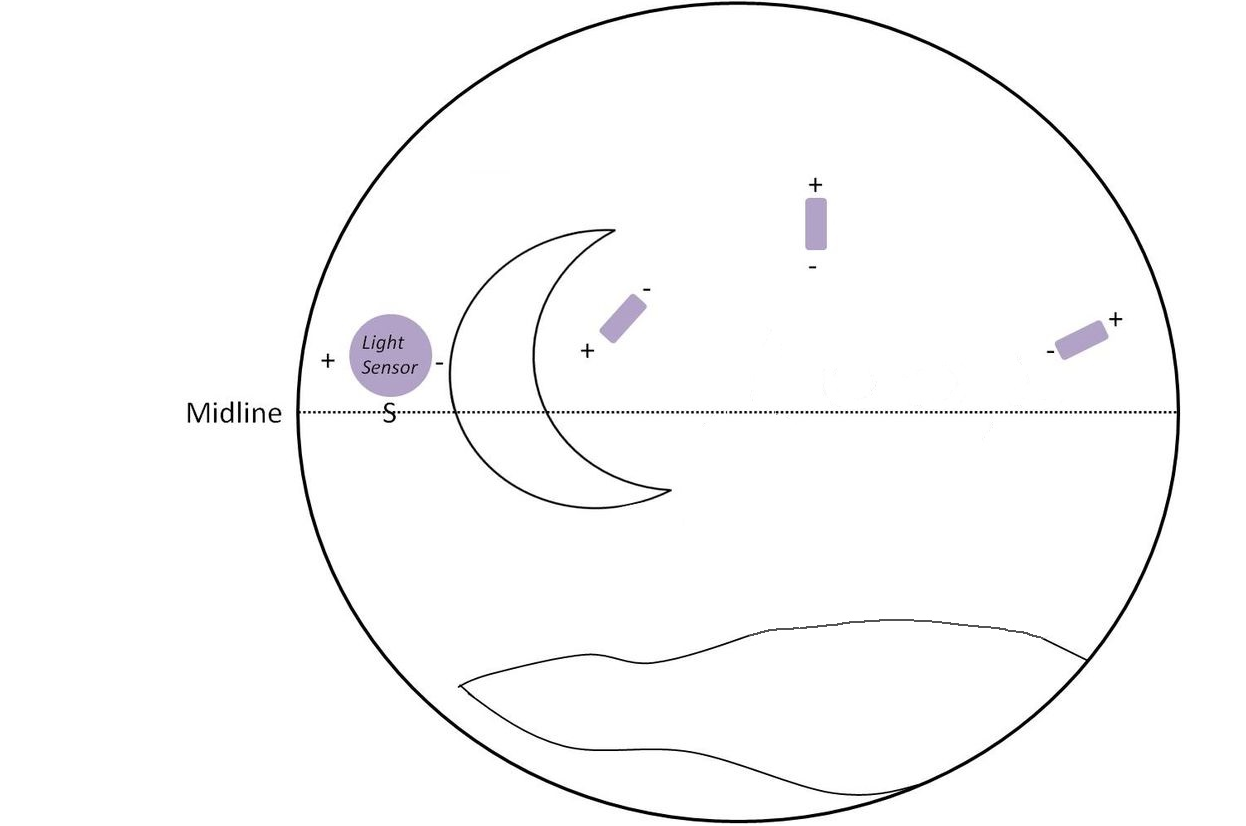
Using the 12” fabric scraps, cut one blue and two black 12” circles using the component
diagram above as a template for the shape. Use chalk or a light crayon to outline the shape of the template on the fabric.
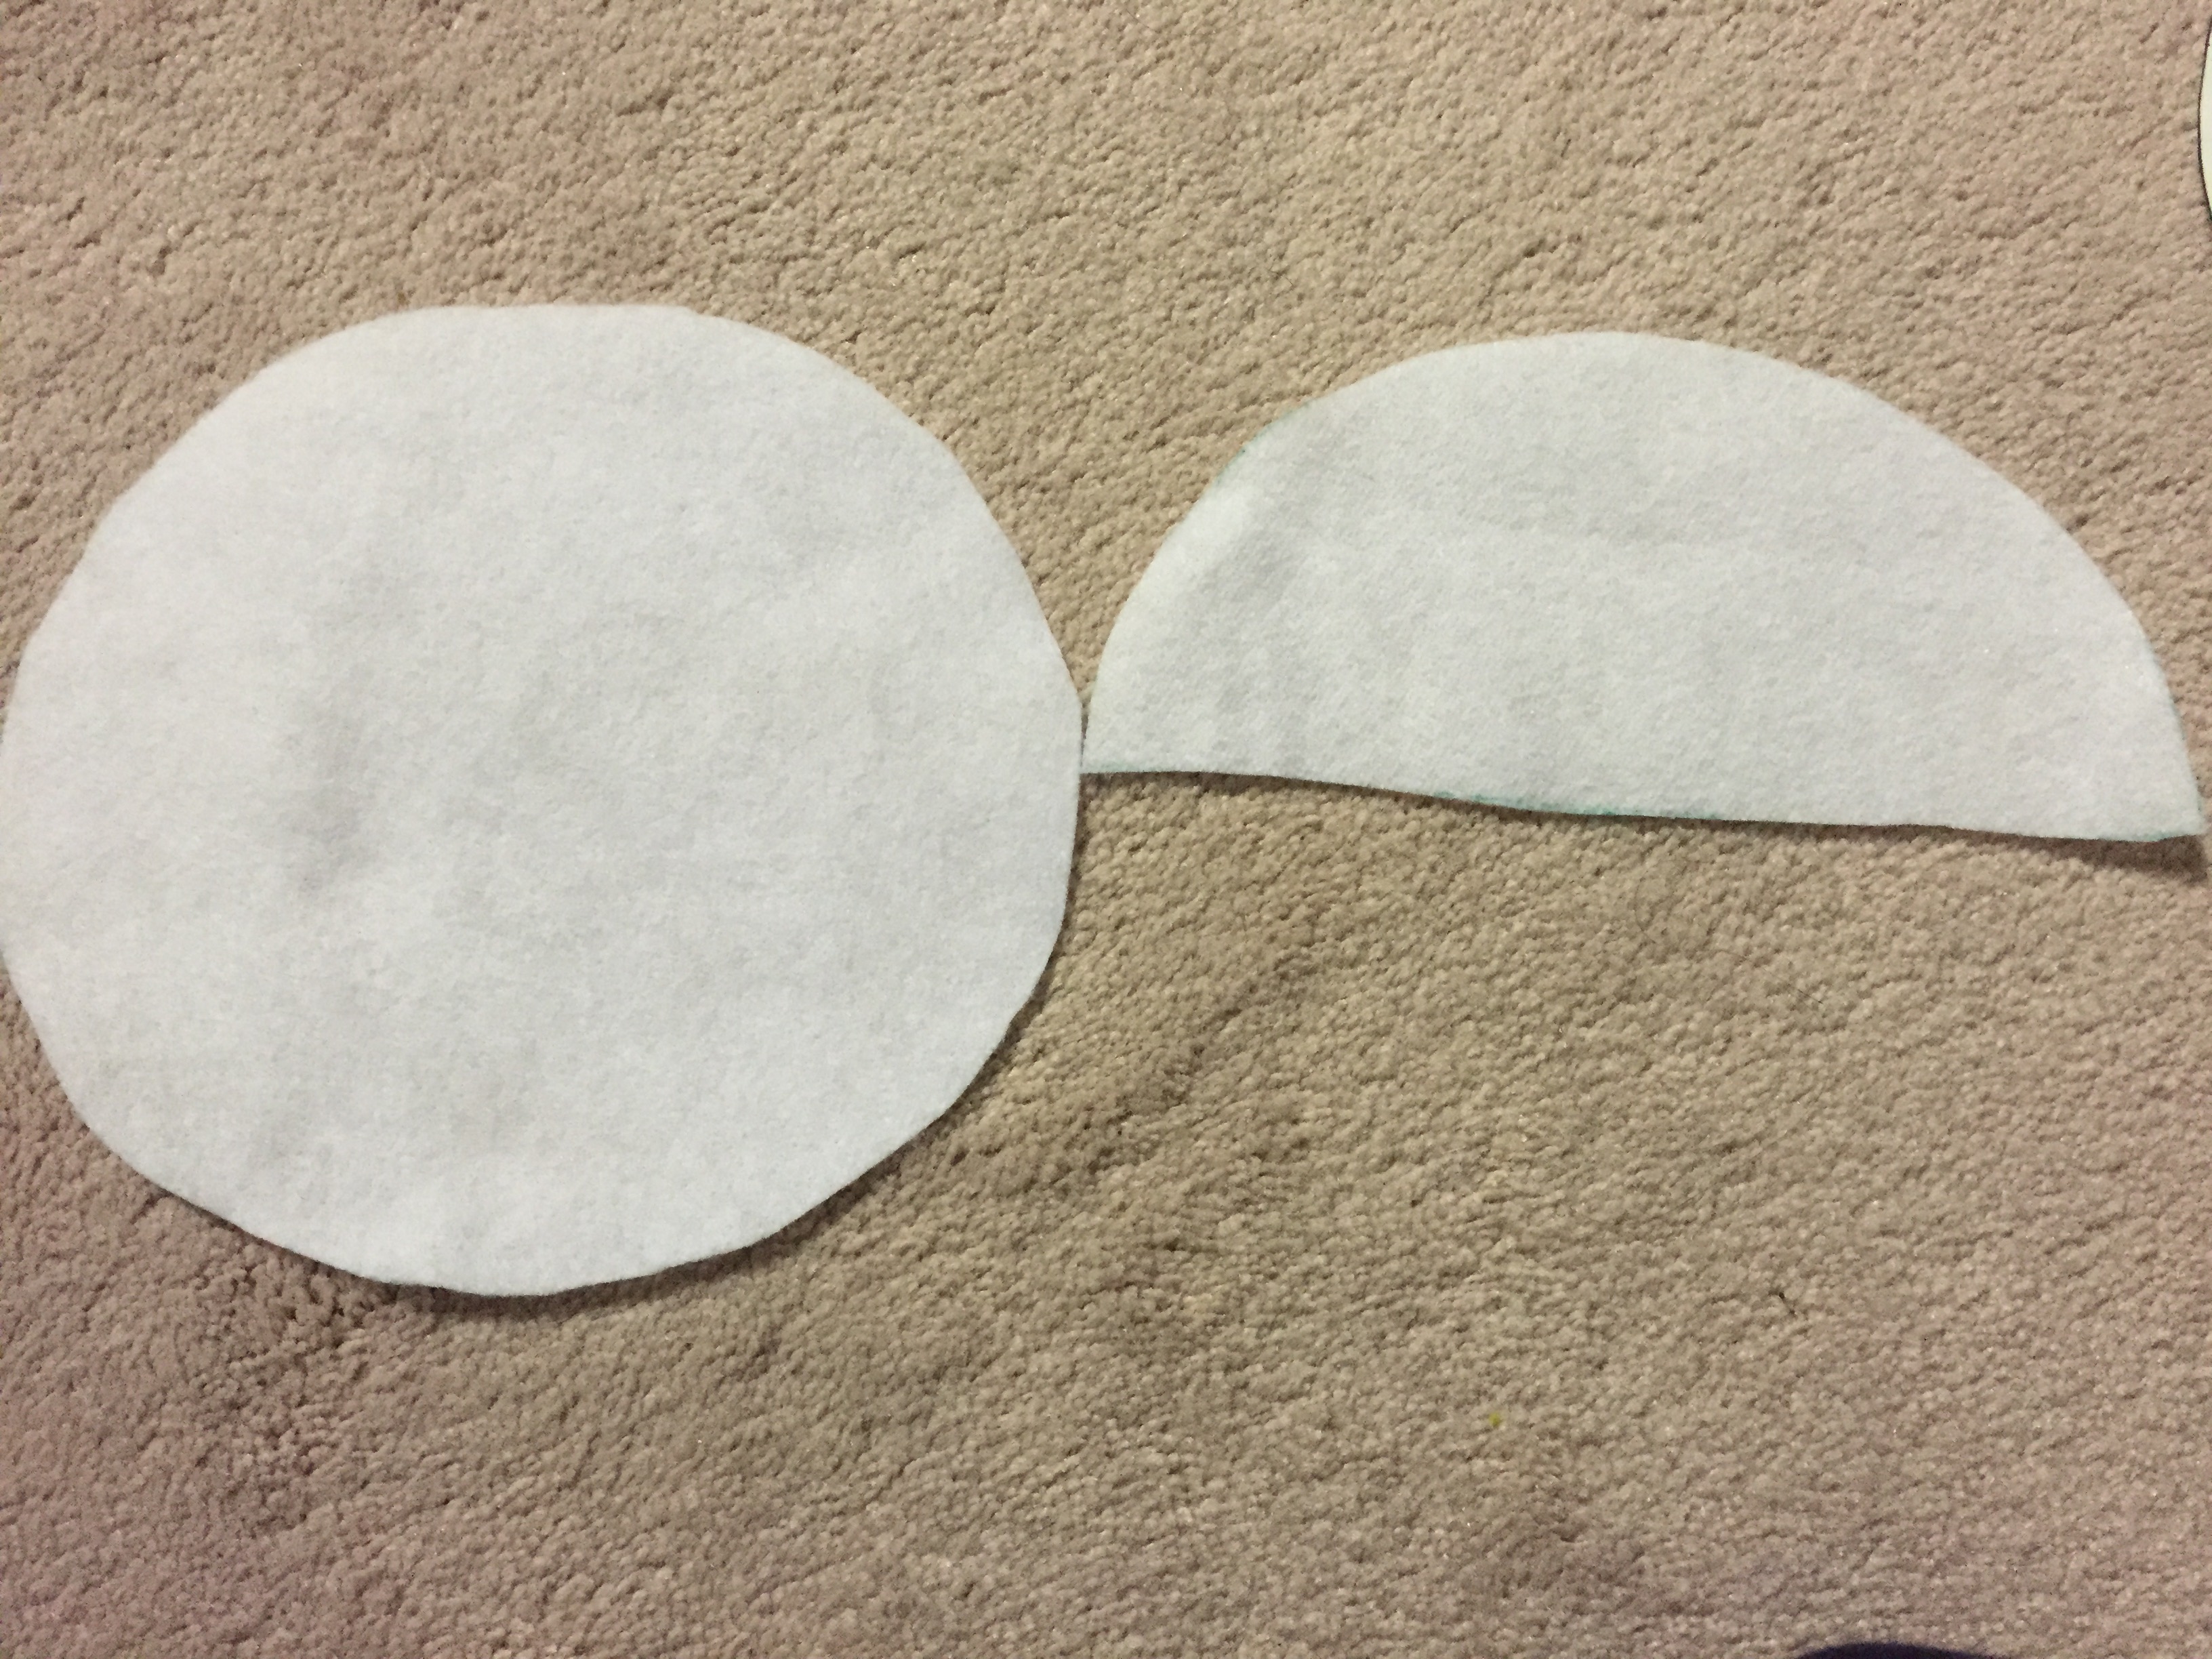
Cut out one 12” and one semicircle from the fusible fleece. A good alternative to fusible fleece is felt.
This material gives structure to the toy and prevents conductive thread from rubbing which is essential
to avoiding short circuits.
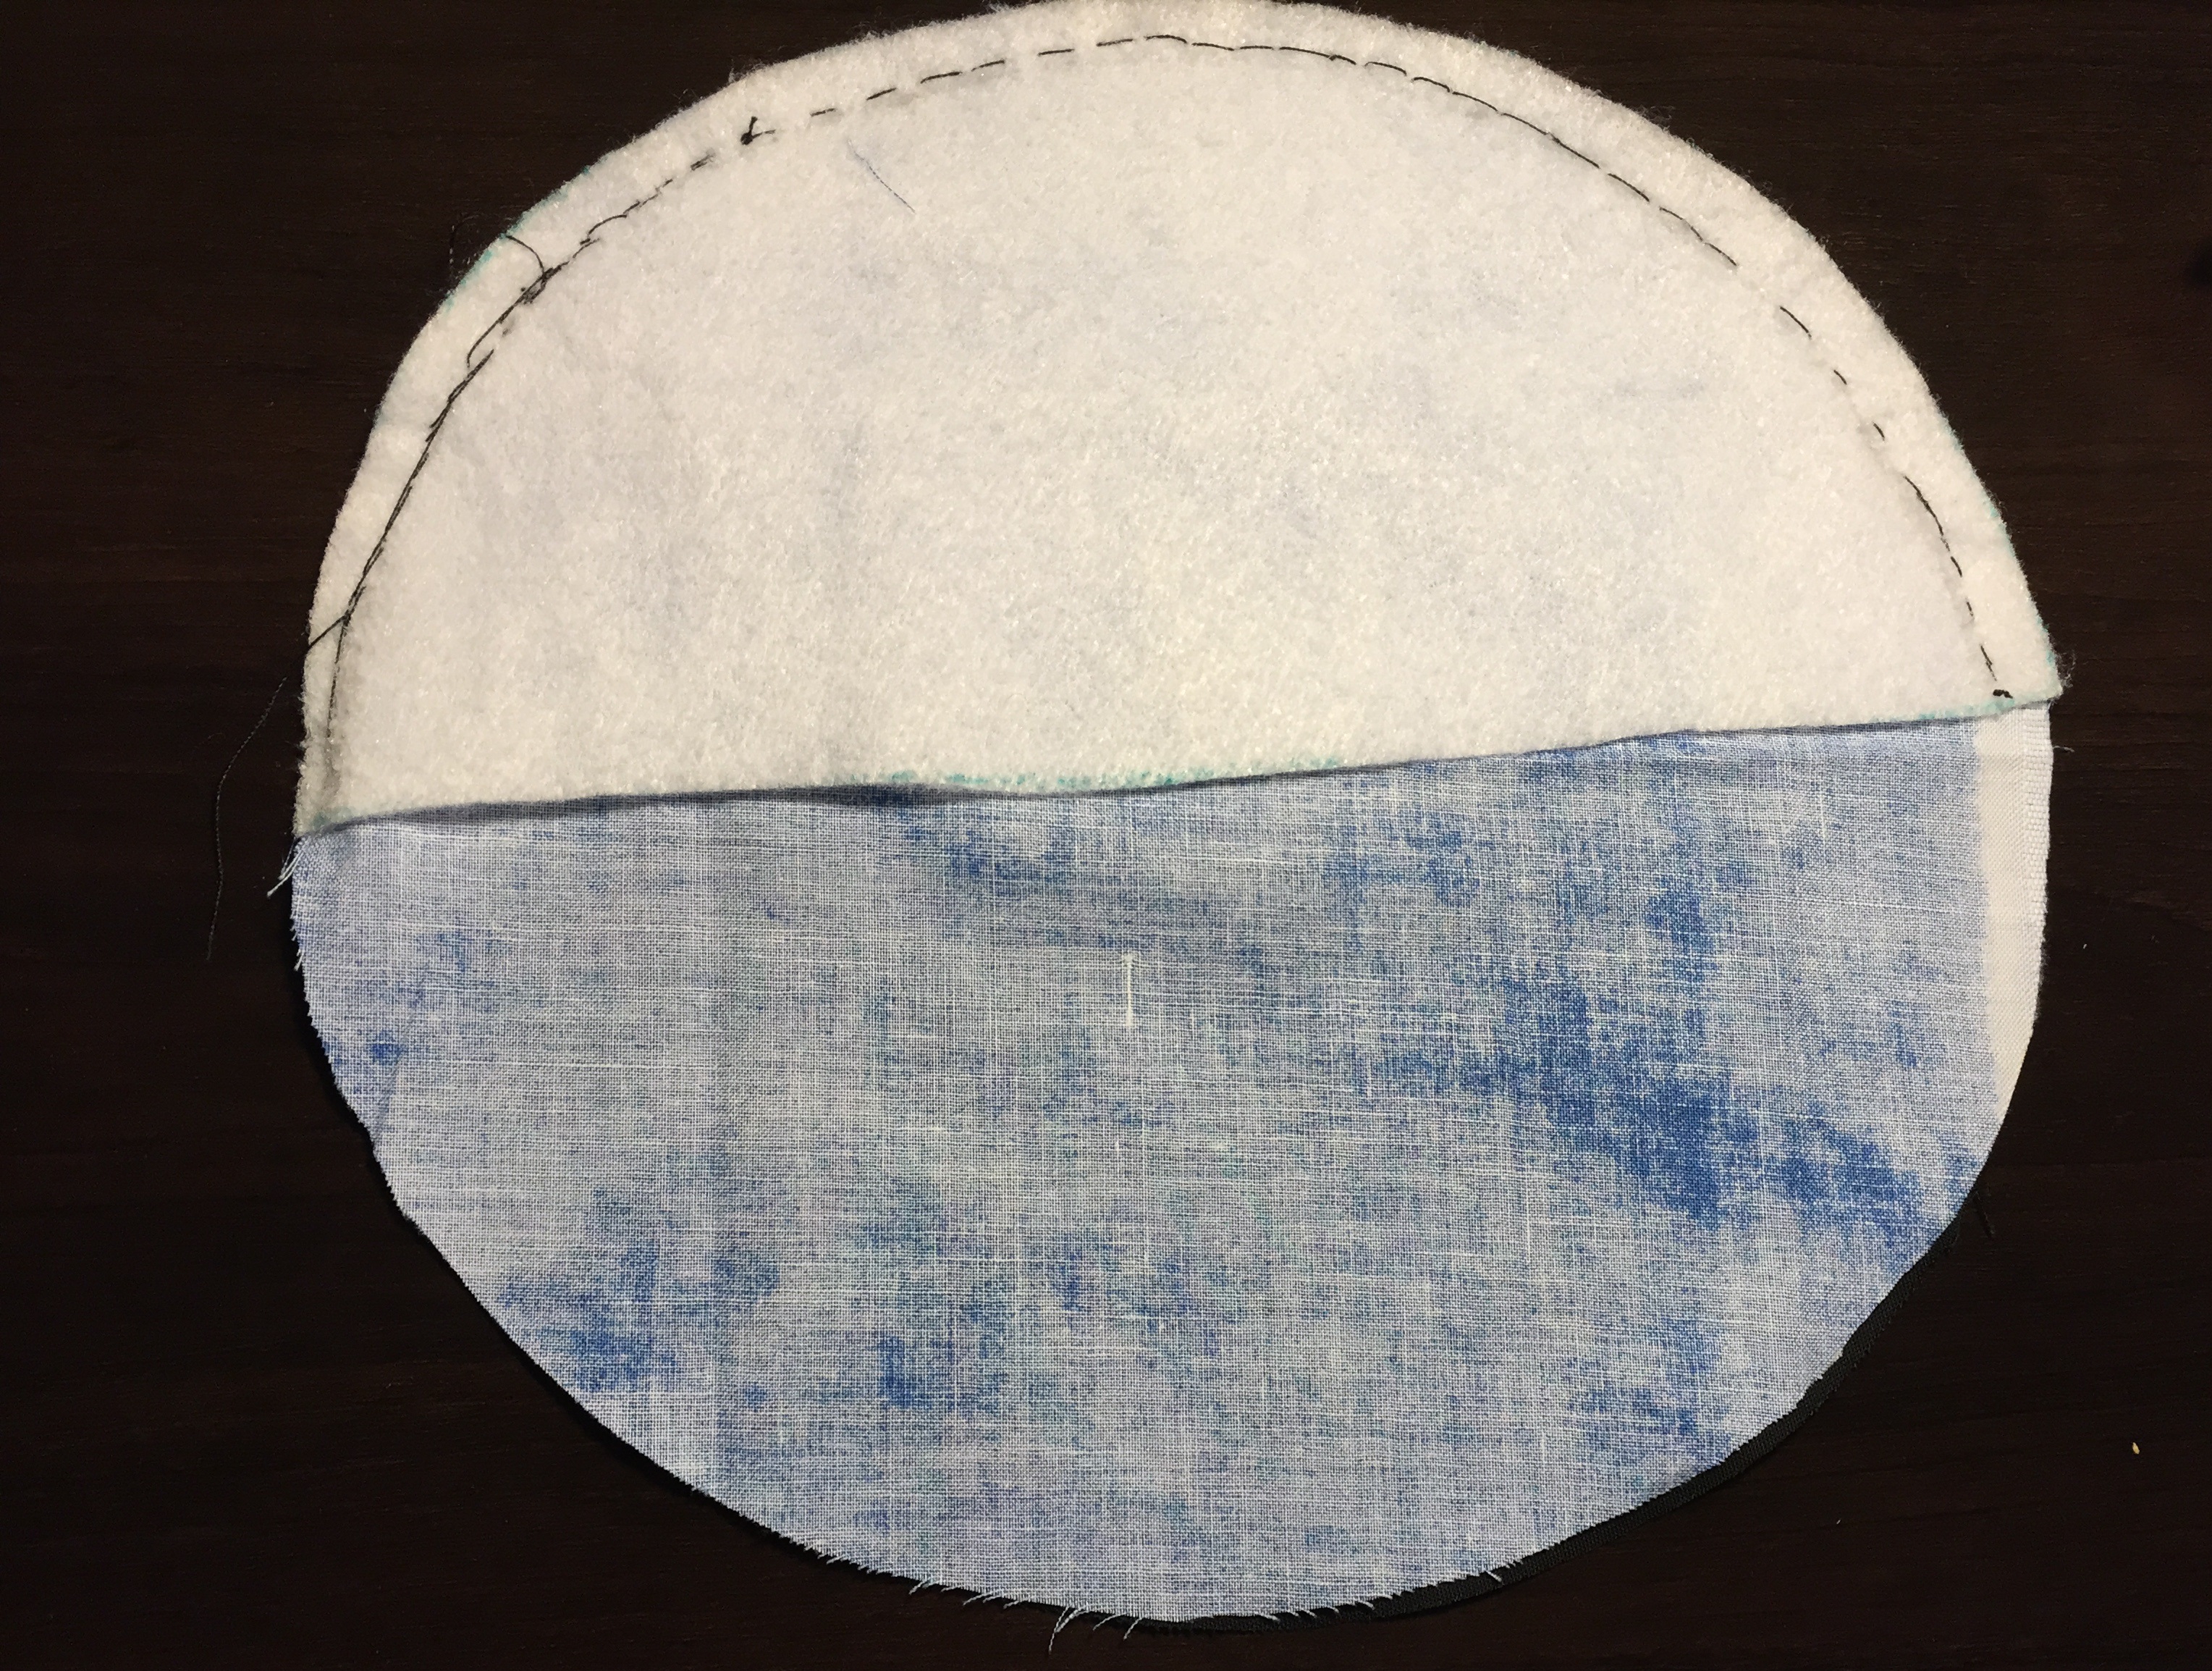
Place one of the black circles facing right-side-up on a flat surface. Next place the blue circle right-side
down on top of the night circle (right sides together) so that the two front/right-sides are together.
Finally, lay your semicircle of fusible fleece or felt over the top half of the blue panel.
Sew the outside edge of the half with the fleece, leaving a 1/4" seam allowance. Do not sew the other half.
Turn right-side out and iron to fuse the three layers together.
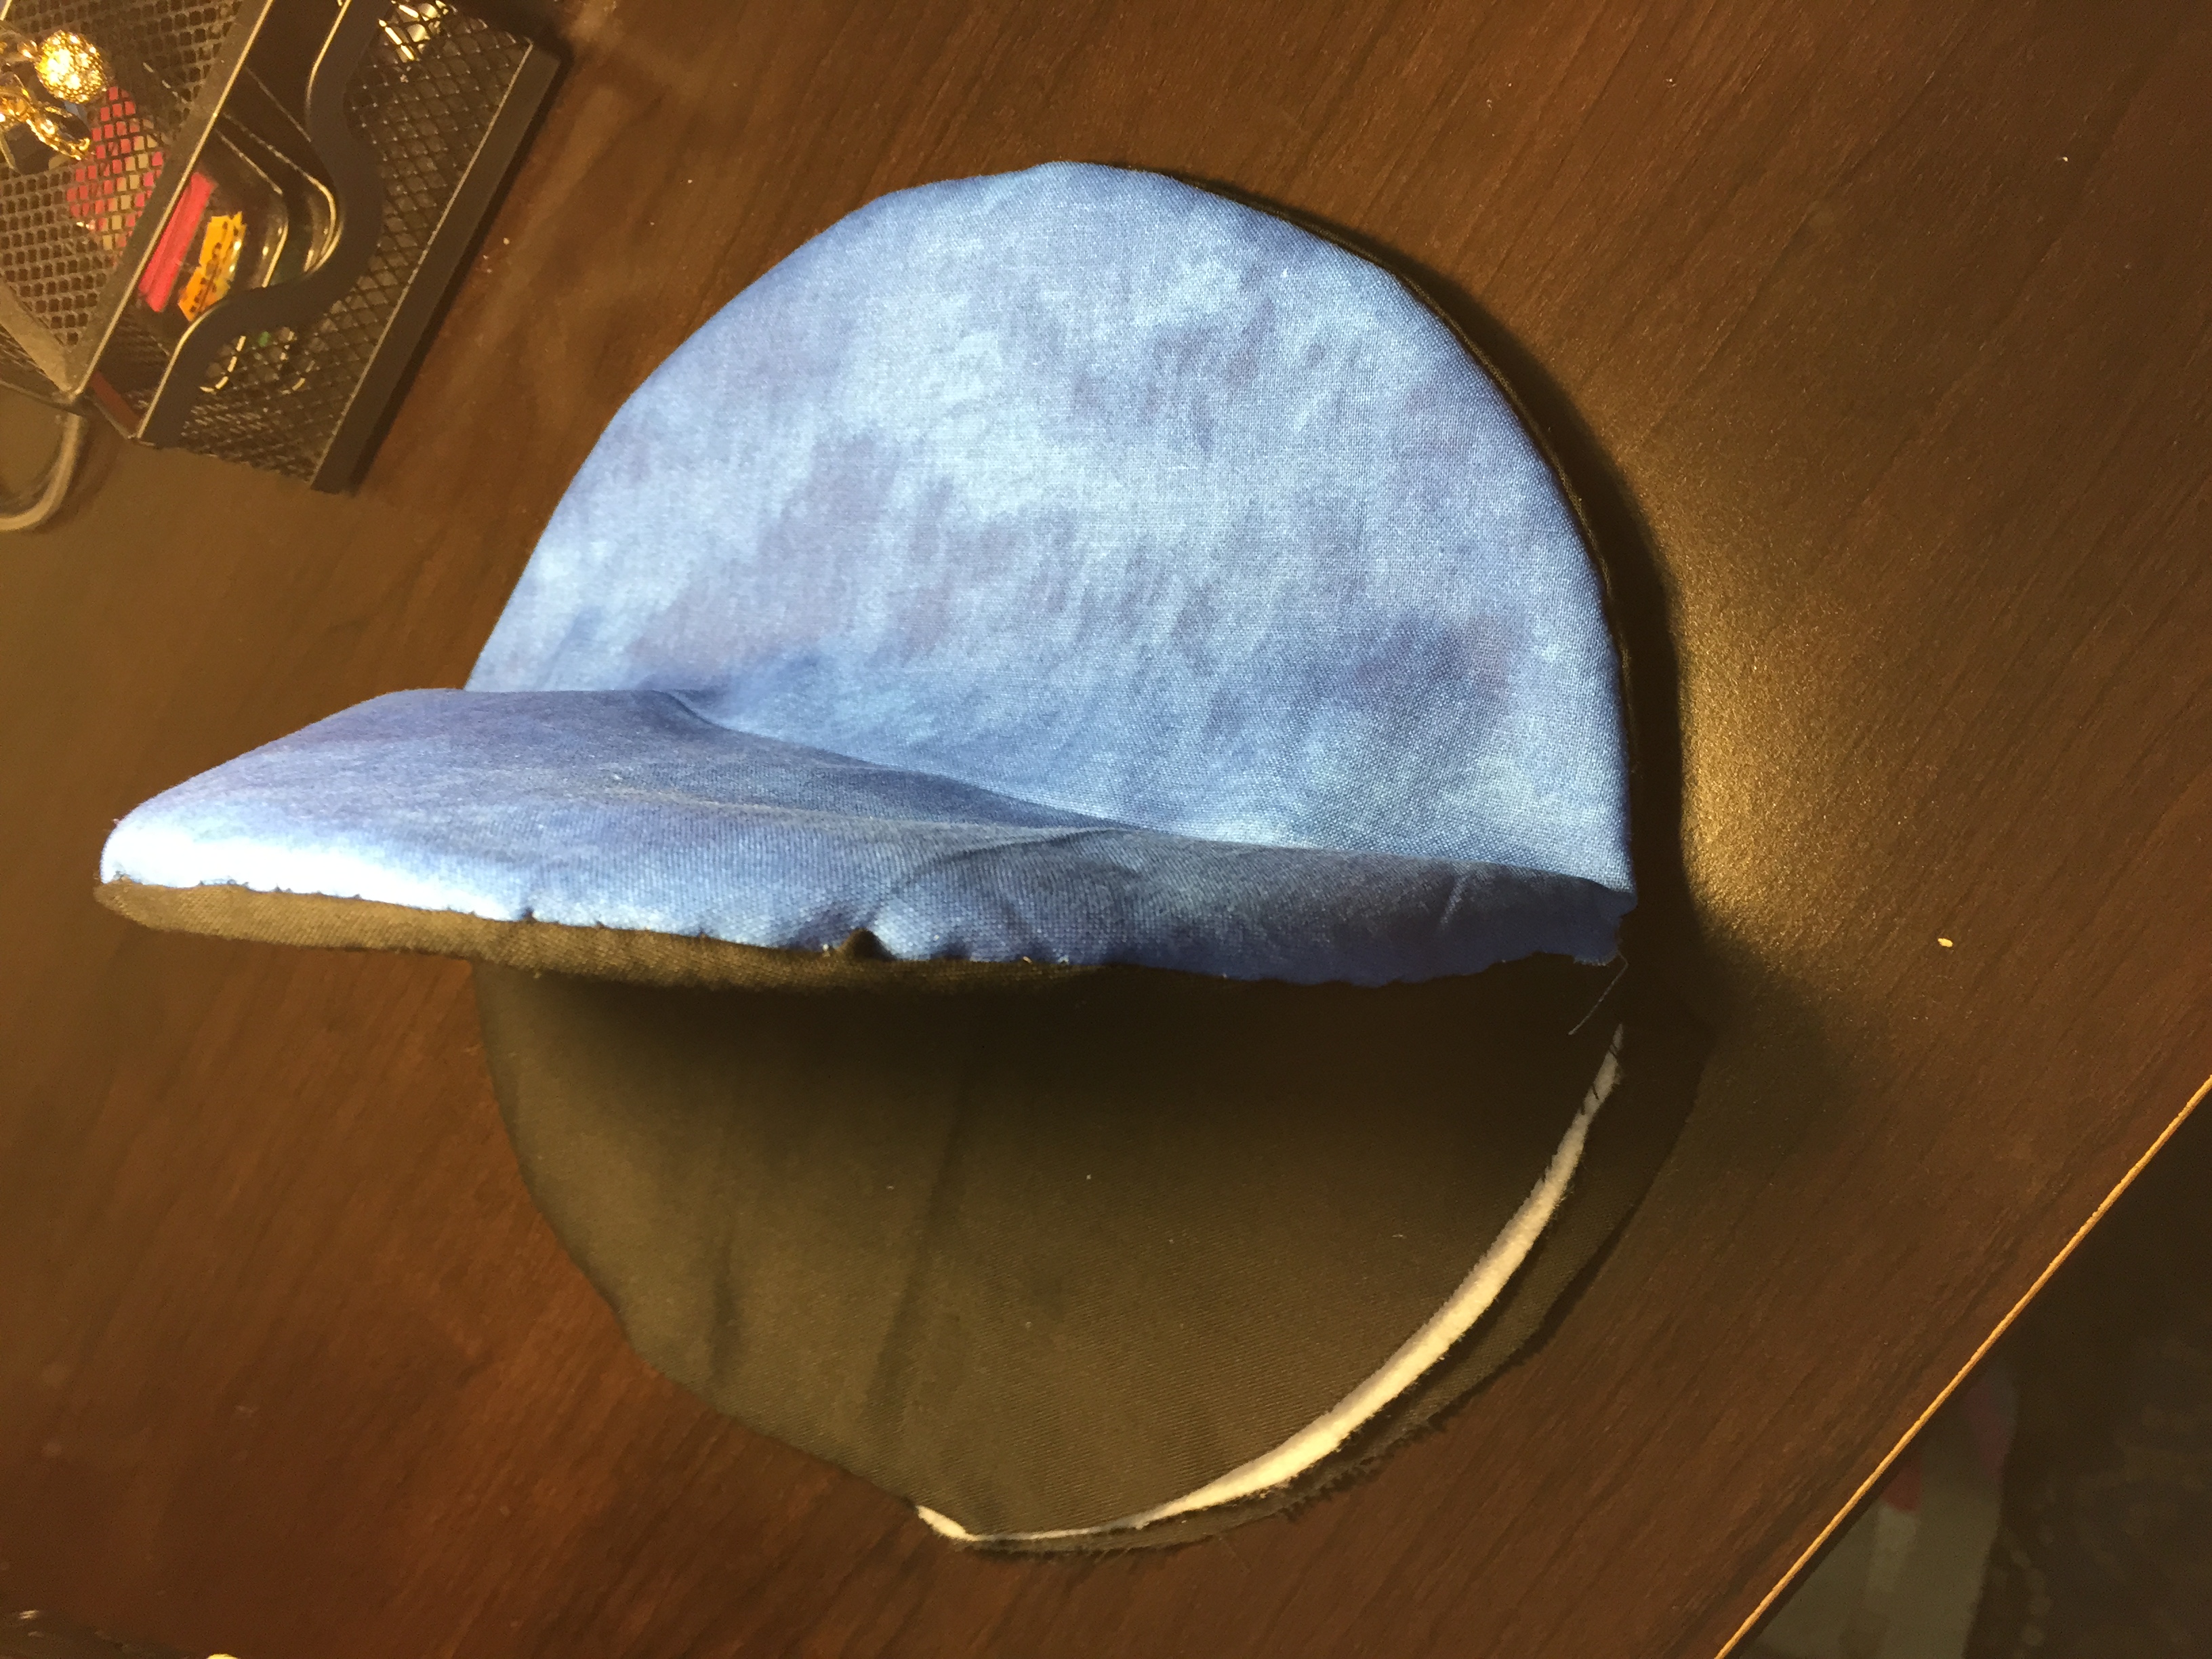
At this point, you should have one finished semicircle with two raw semicircles visible. Now, lay down
the second black fabric circle on a flat surface with the right side facing up. Then, lay down the two raw
panels of your project right-side down on top of the black fabric. Your completed semicircle will be inside.
Finally, lay your 12” circle of fusible fleece/felt on top. Make sure everything is lined up in place and
carefully sew around the edge, leaving a 1/4" seam allowance and stopping about 3” before you
complete the circle. It is important to ensure that you don’t sew into your finished semicircle.
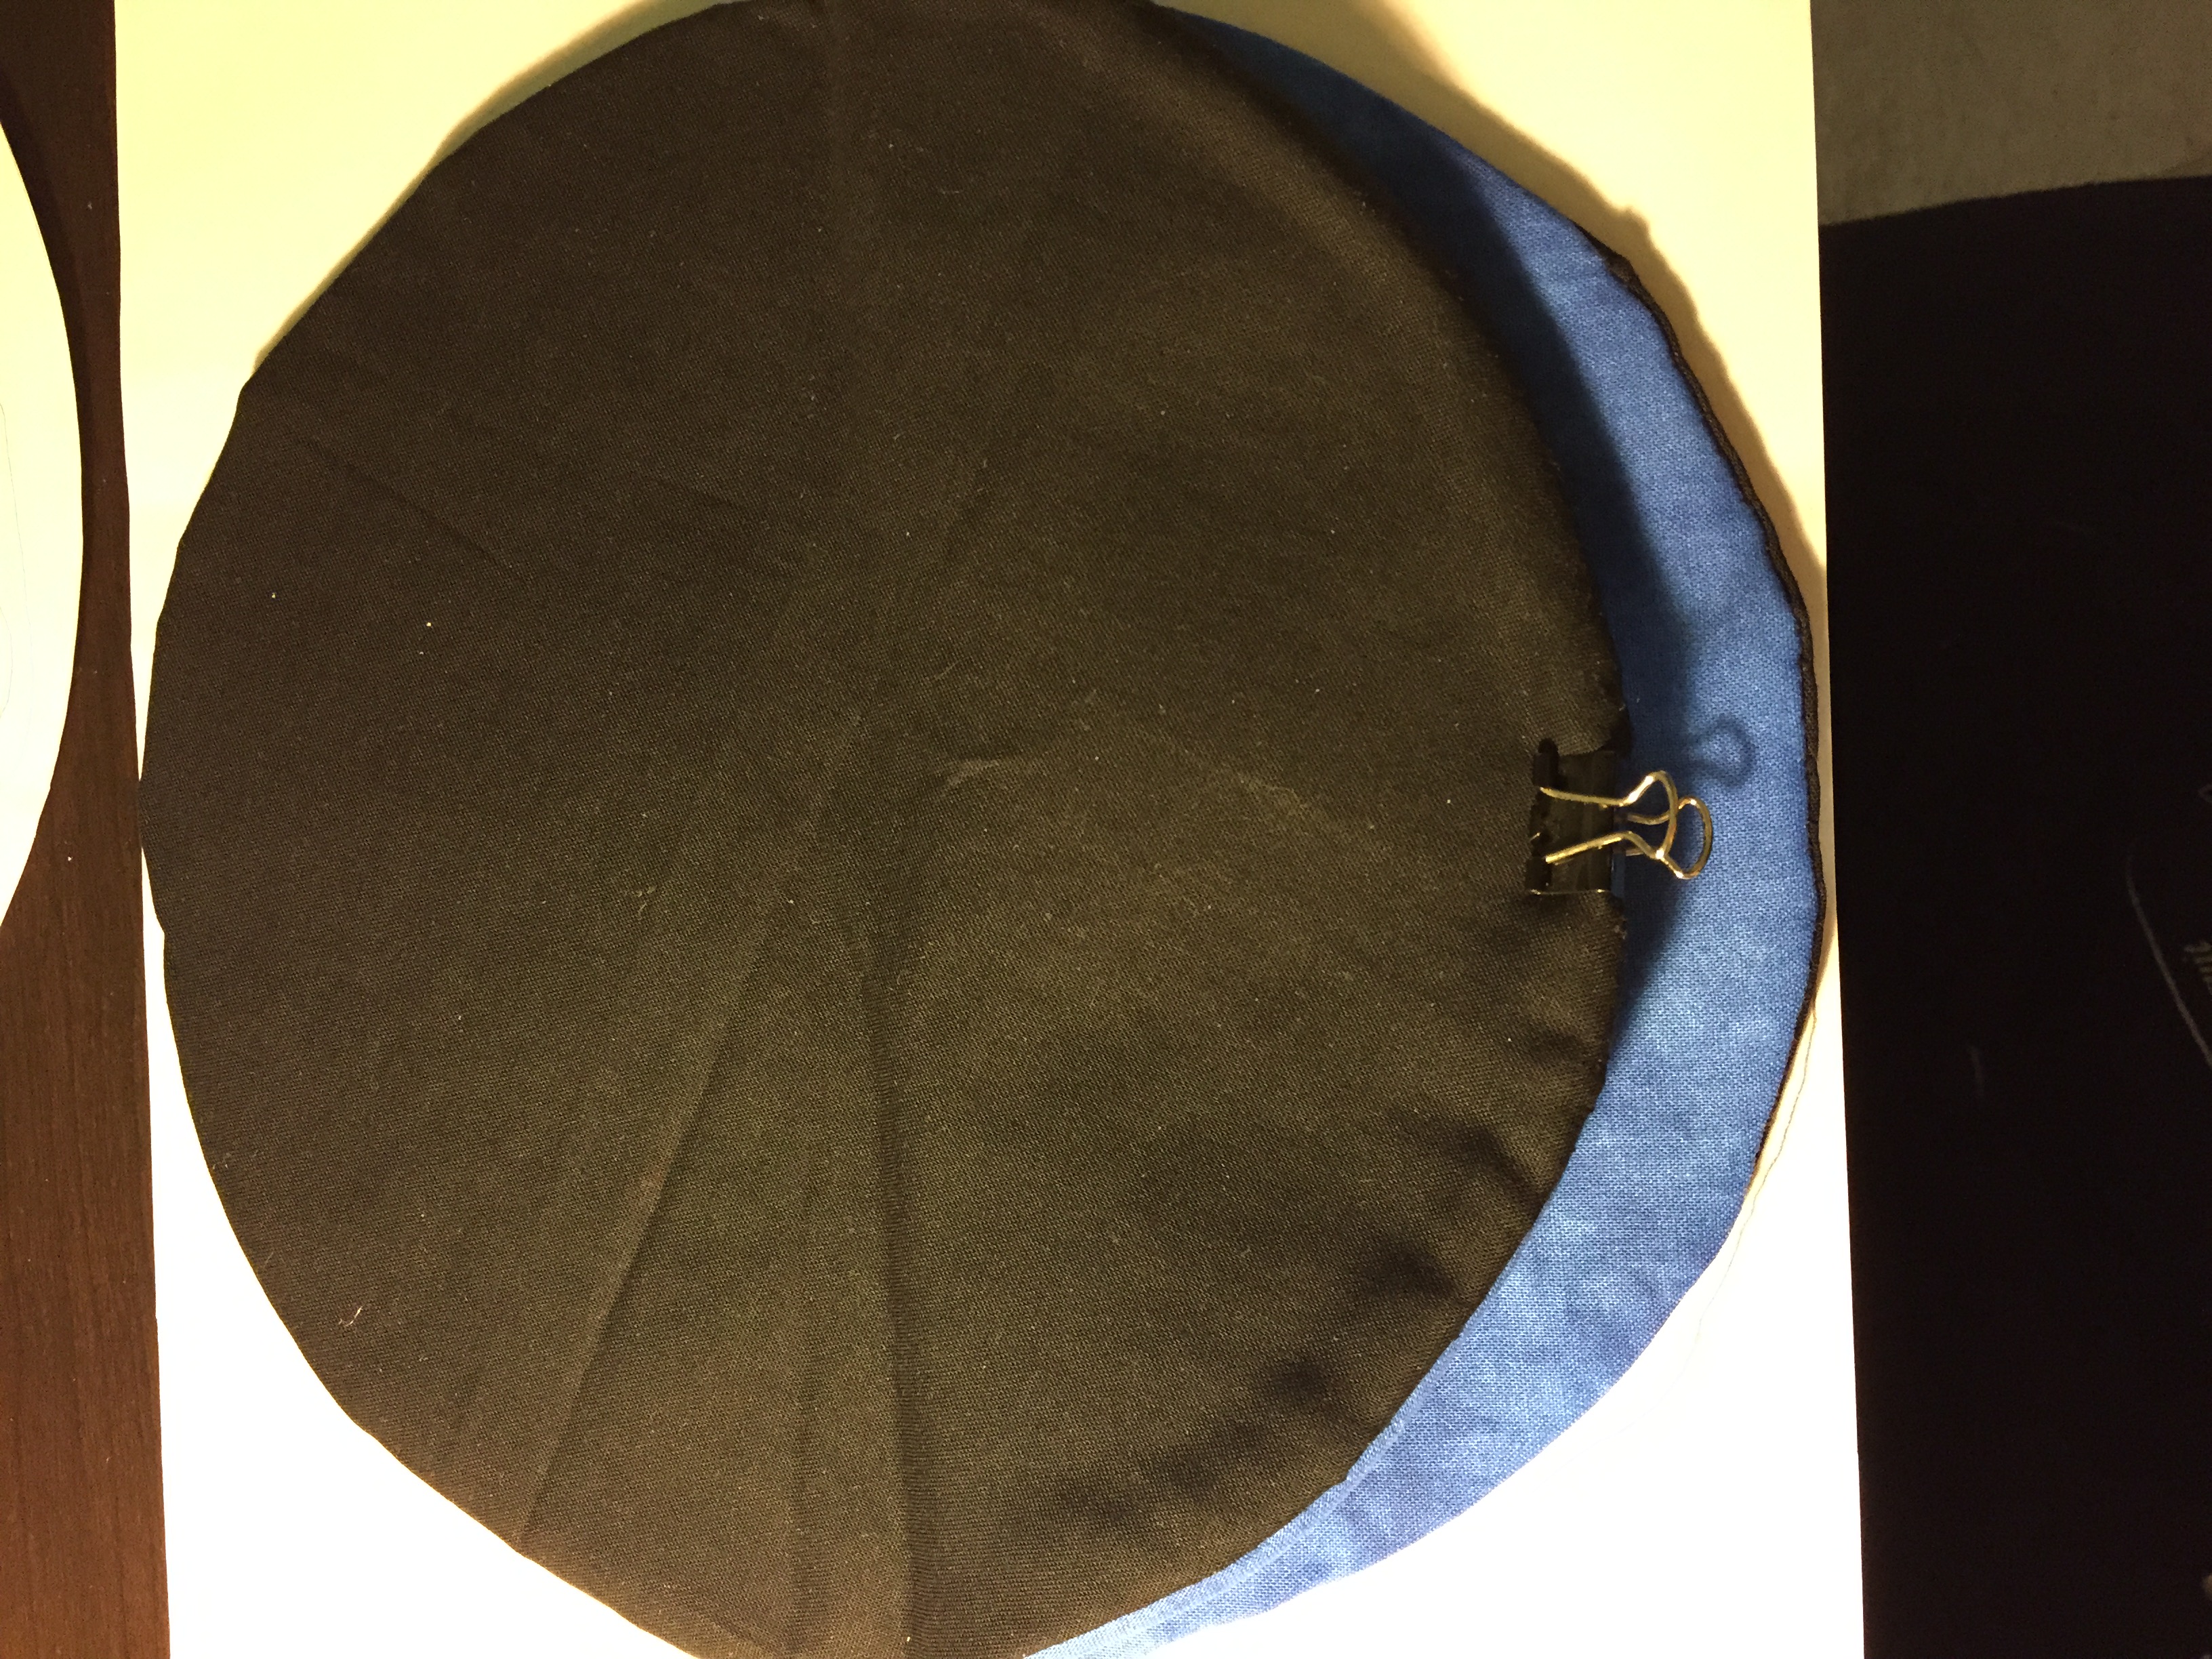
Using the 3” unsewed section, turn the project right-side out. The fusible fleece should be the middle layer.
Iron to fuse all your layers together if fusible fleece was used. Next turn in the remaining unsewed edges
and use your needle and thread to close up the 3” section.
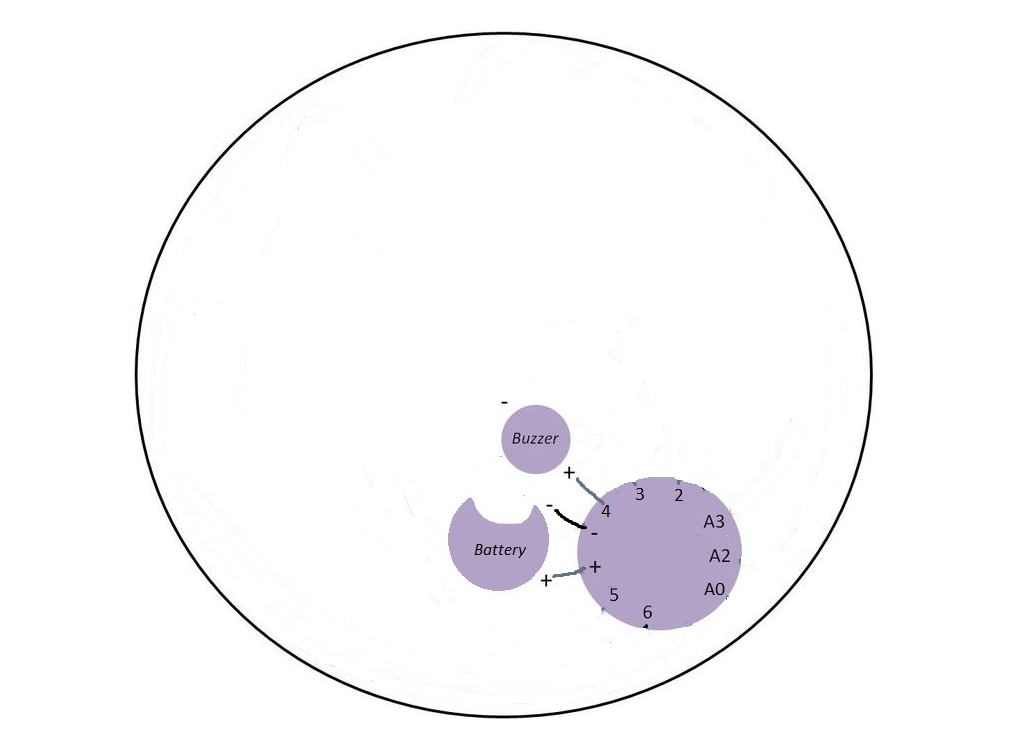
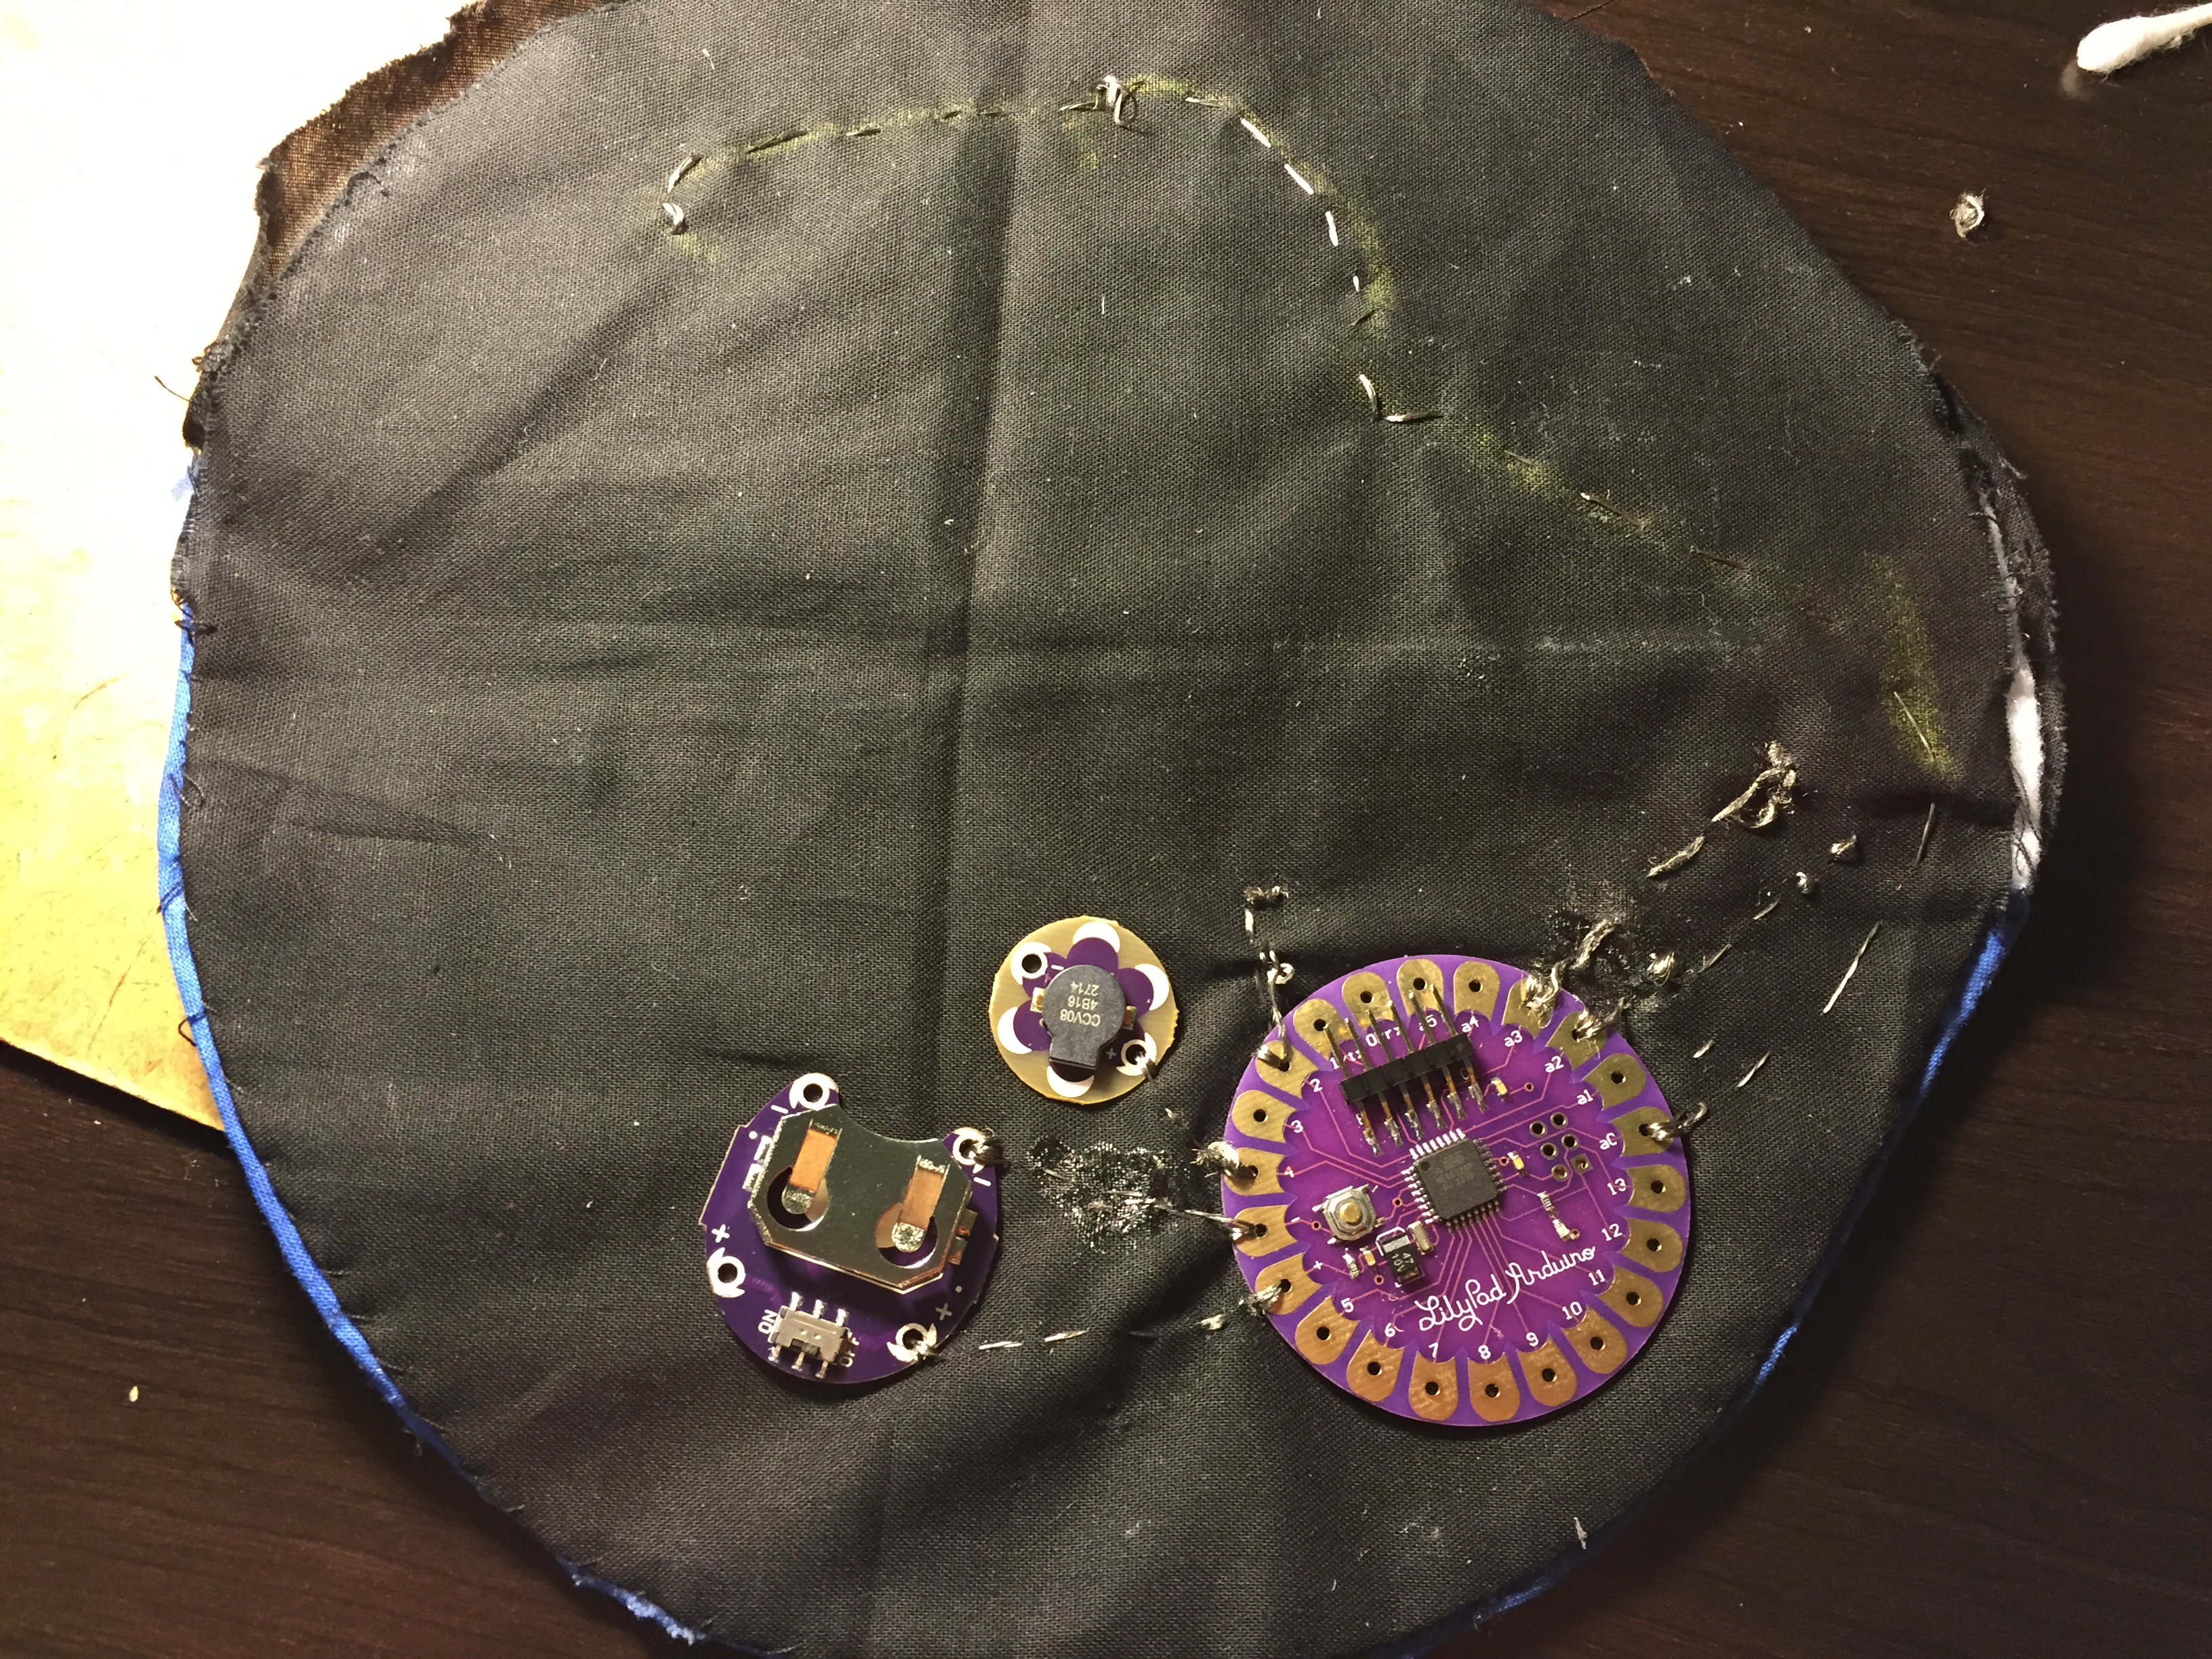
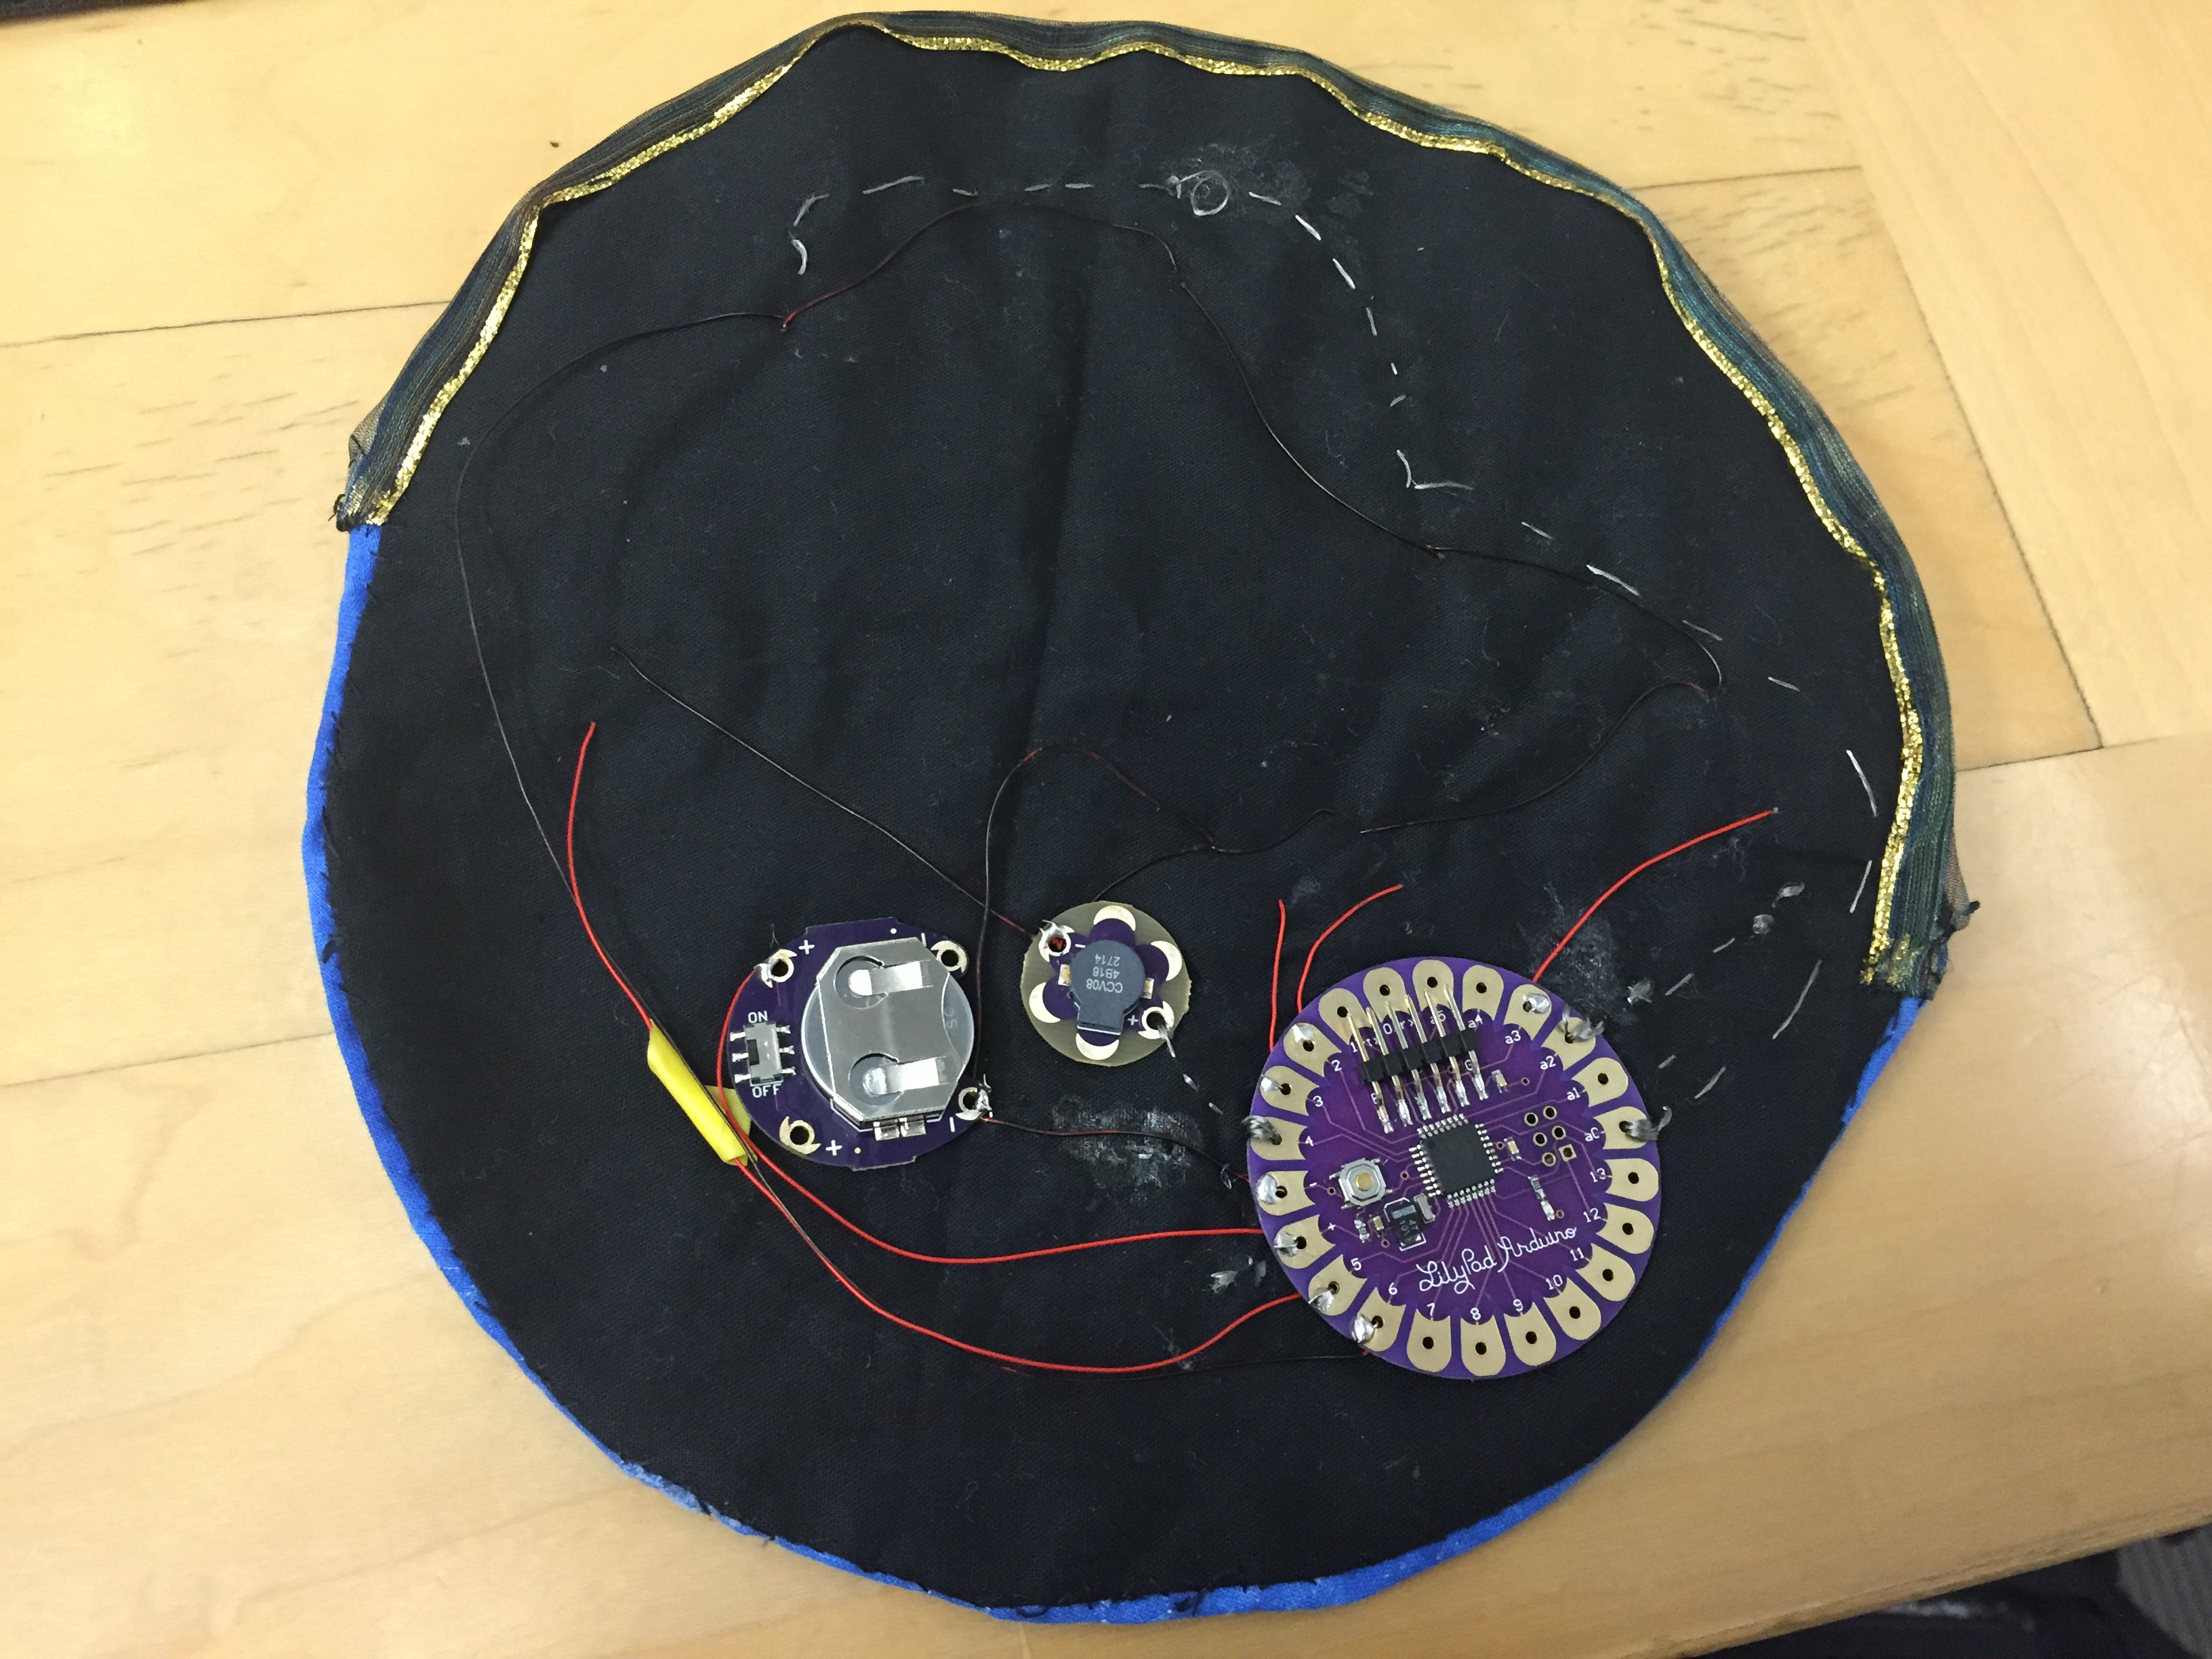
Following the component template for the component pieces, place your LilyPad board in the bottom
right corner of the backing fabric. It is helpful to use double-sided tape to hold the board in place while
you make your first few stitches. Then place the battery holder close to the main board with the + and
- terminals facing the + and - terminals of the LilyPad, respectively, and tape the board in place.
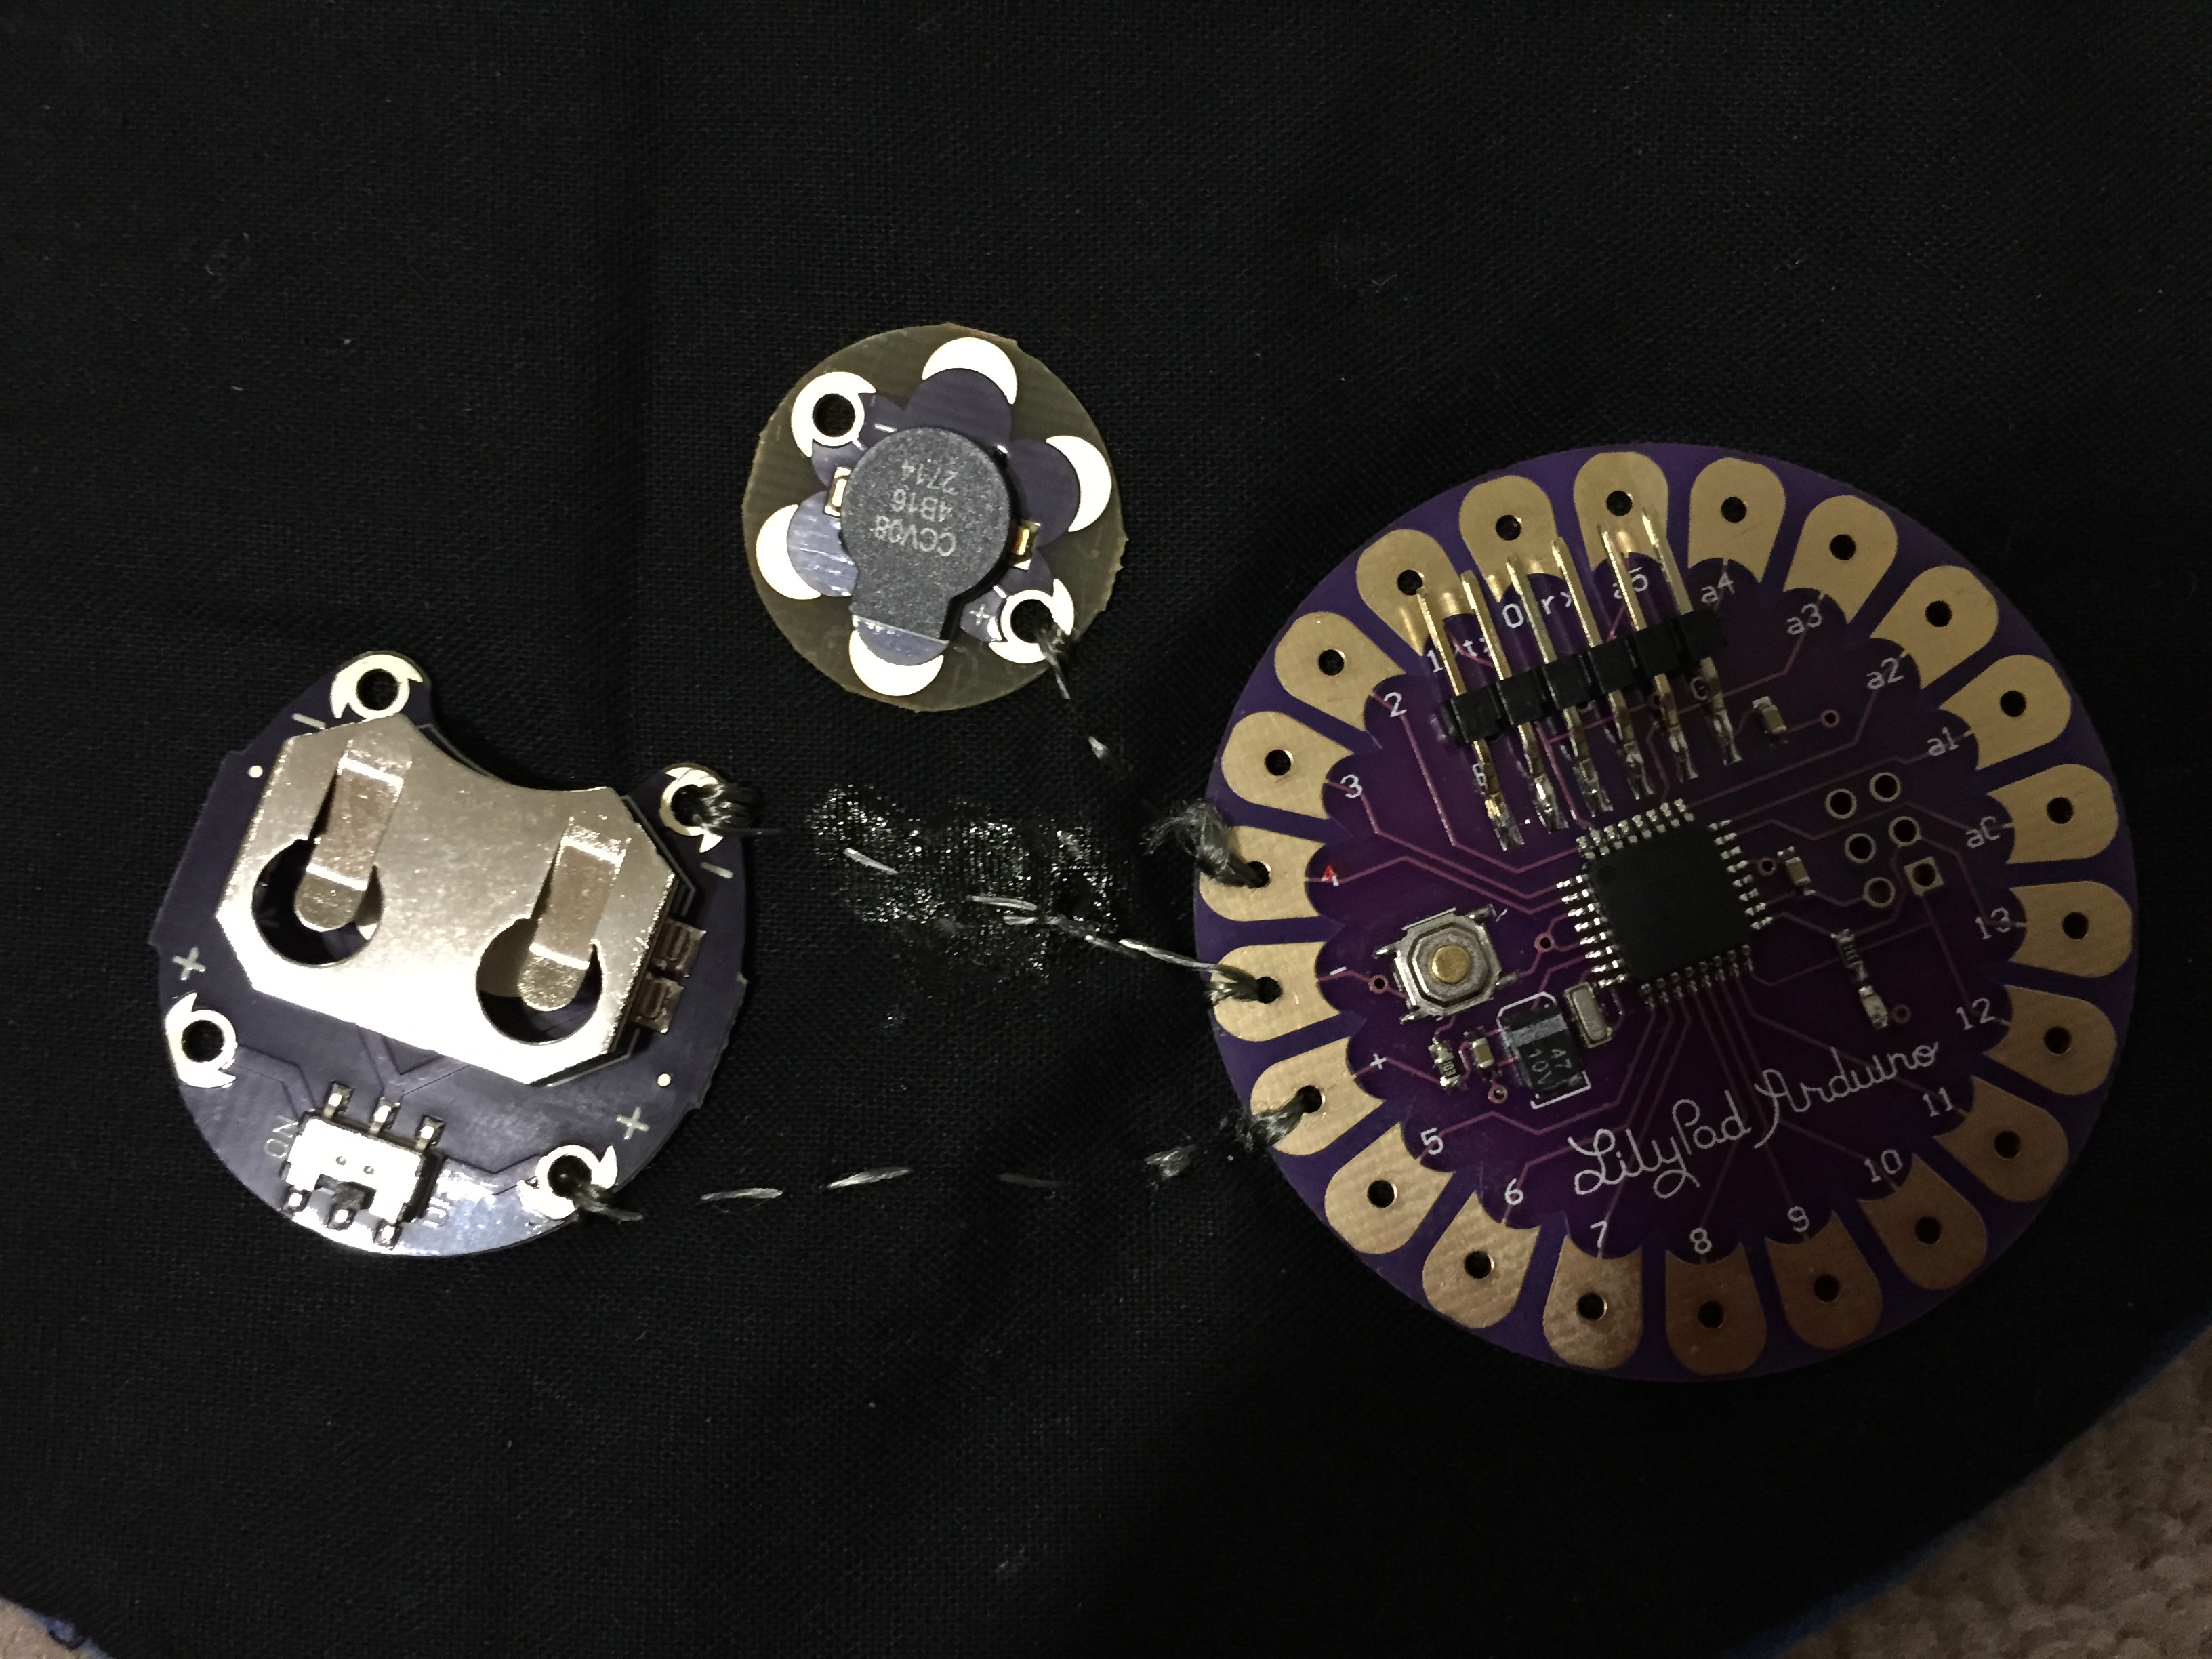
Using conductive thread, make several passes through the + pin of the battery holder, being sure to only pass through
the backing fabric (you don't want your stitches to show up on the front of your project). Then make a neat stitching
line to the + pin of the LilyPad board, and make several passes through that pin, again going only through the
backing fabric. Alternatively, for a less resistive and more secure connection you may solder 30 AWG wire with the
pins as opposed to sewing. For the – terminals, connect the – pin of the battery to the – pin of the LilyPad.
Finally, tape the buzzer in place and make a connection from the + pin of the buzzer to Pin 4 of the LilyPad.
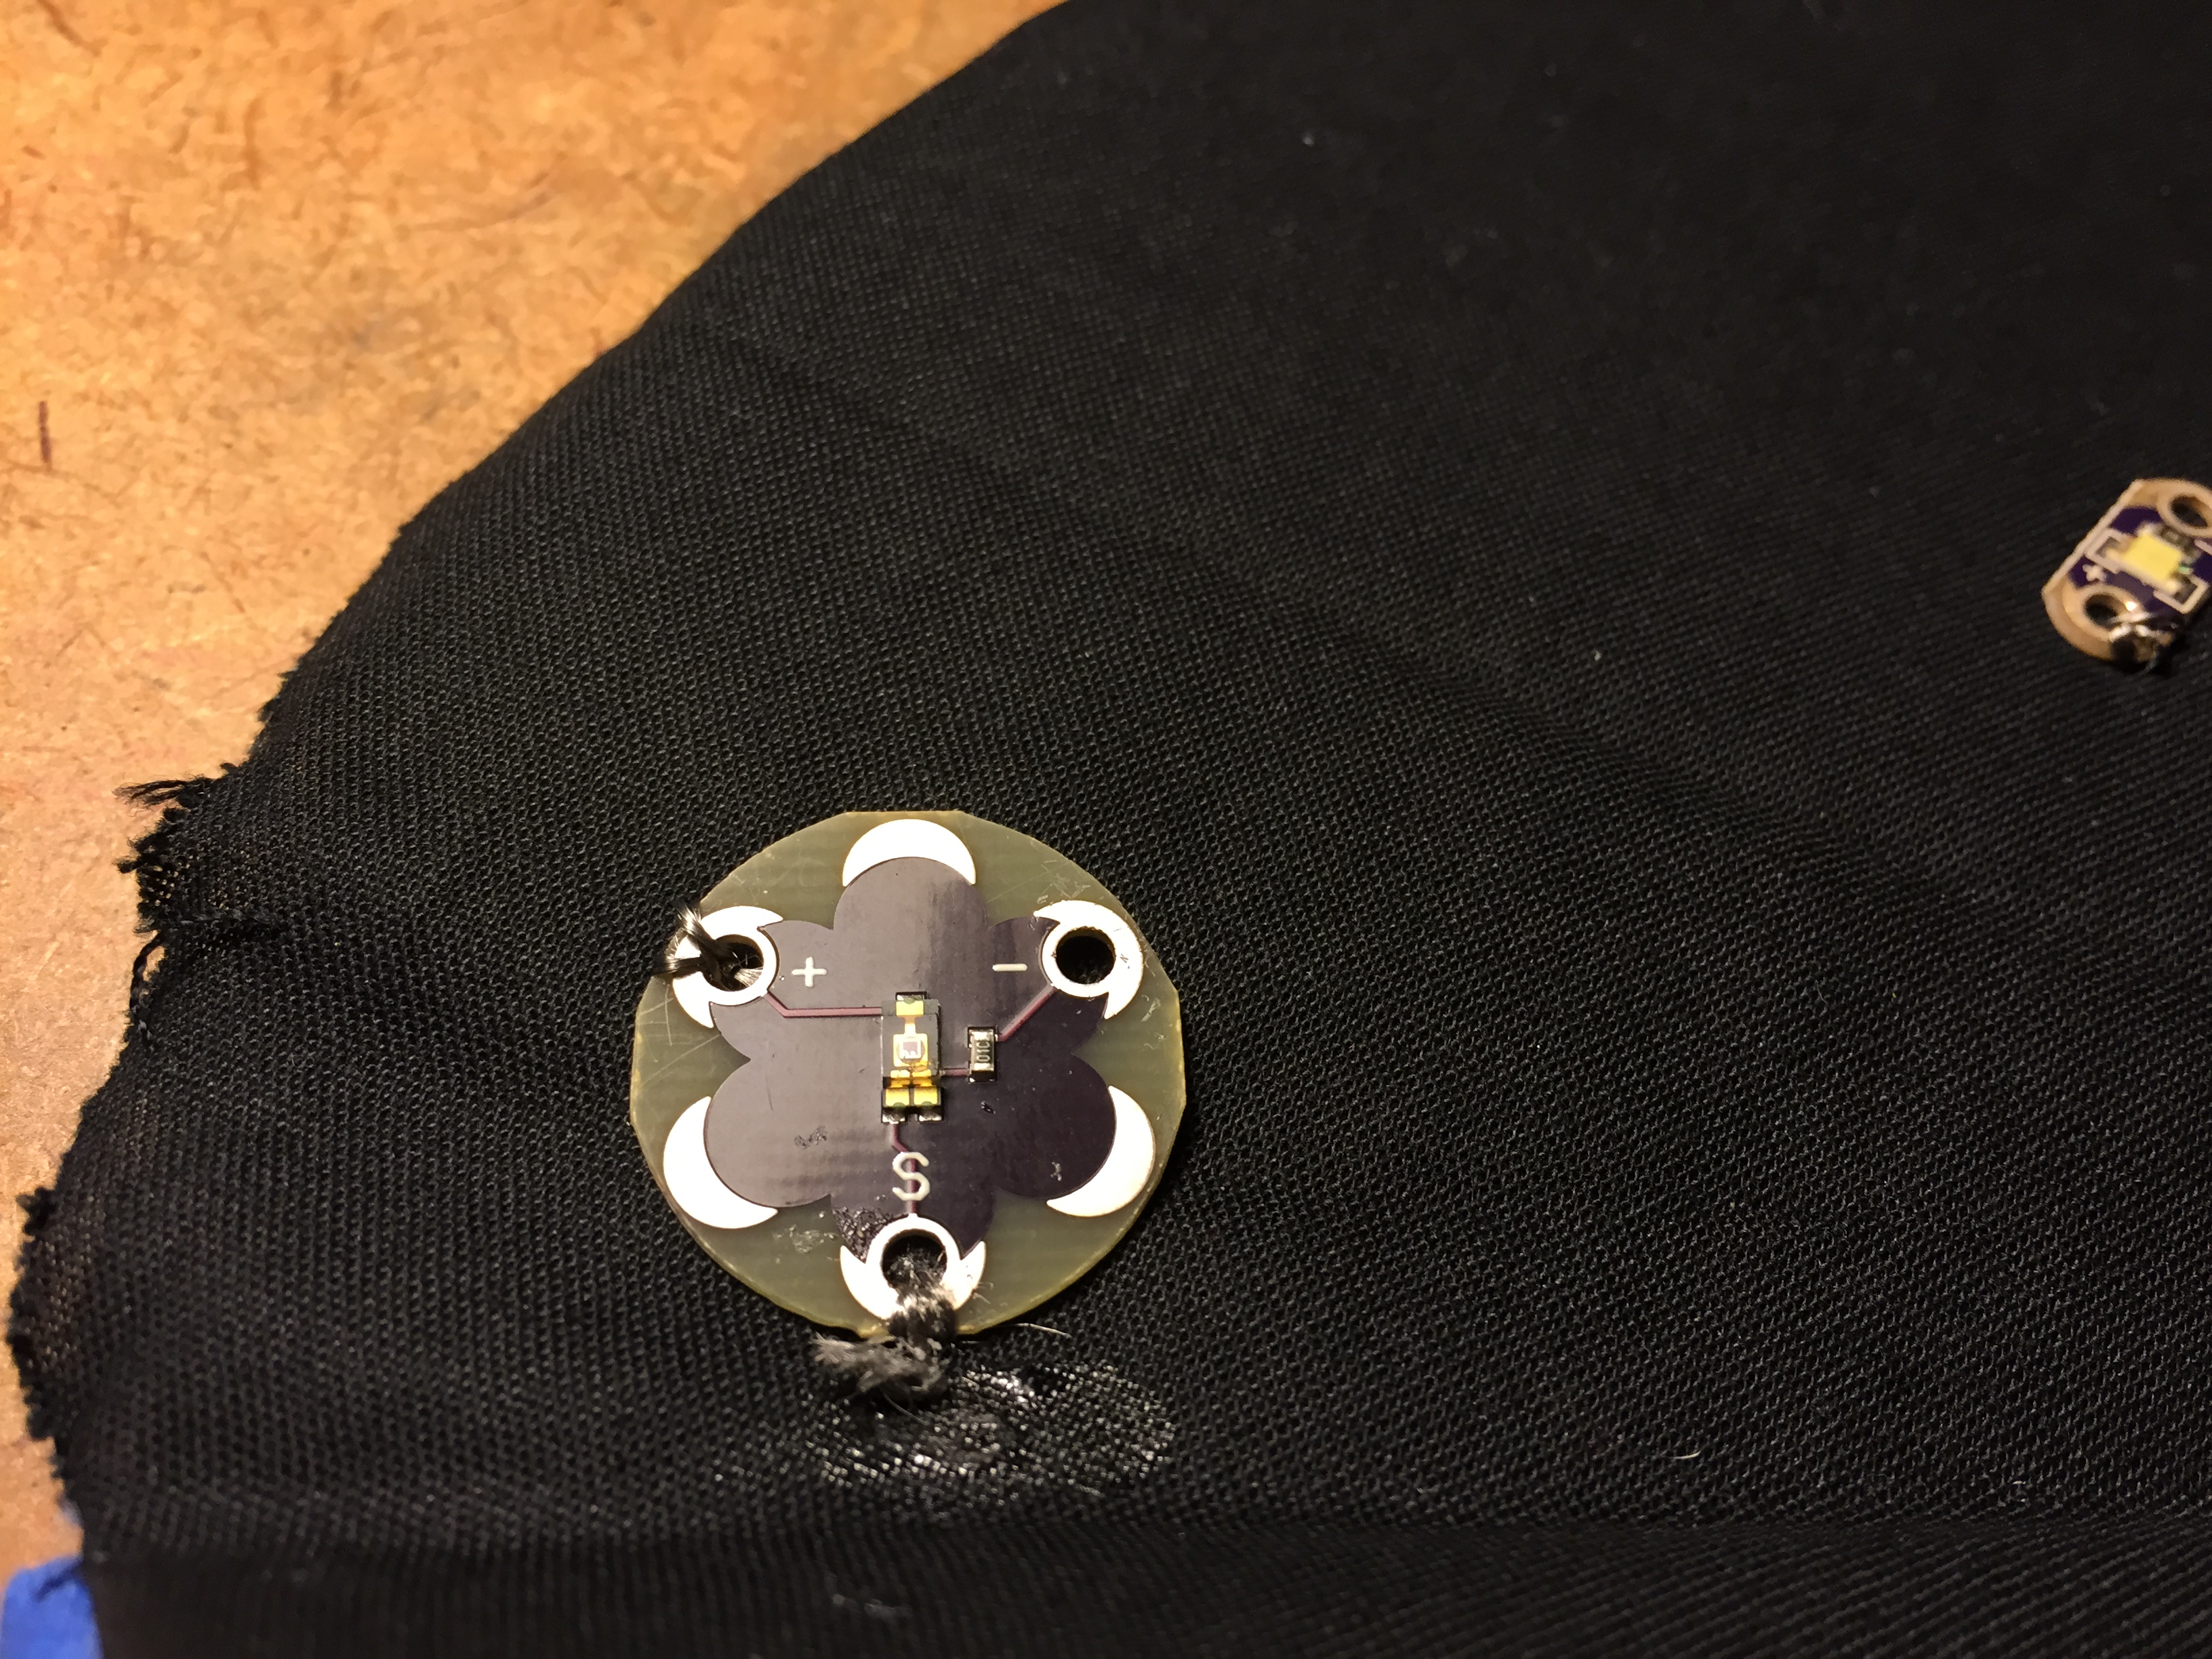
Next, place your light sensor on the front of the night panel, above the midline. The "S" pin should be at the bottom.
Using your stitch diagram and the same method described in the previous step, sew the + pin to A2 of the LilyPad,
the "S" pin to A3.

Place the three of the LEDs on the front of the "day" panel using double-sided tape to hold them down temporarily;
just remove it when you're ready to sew. Sew the + pins of these LEDs to pins 2, 3, and 5 as shown in the
component template.
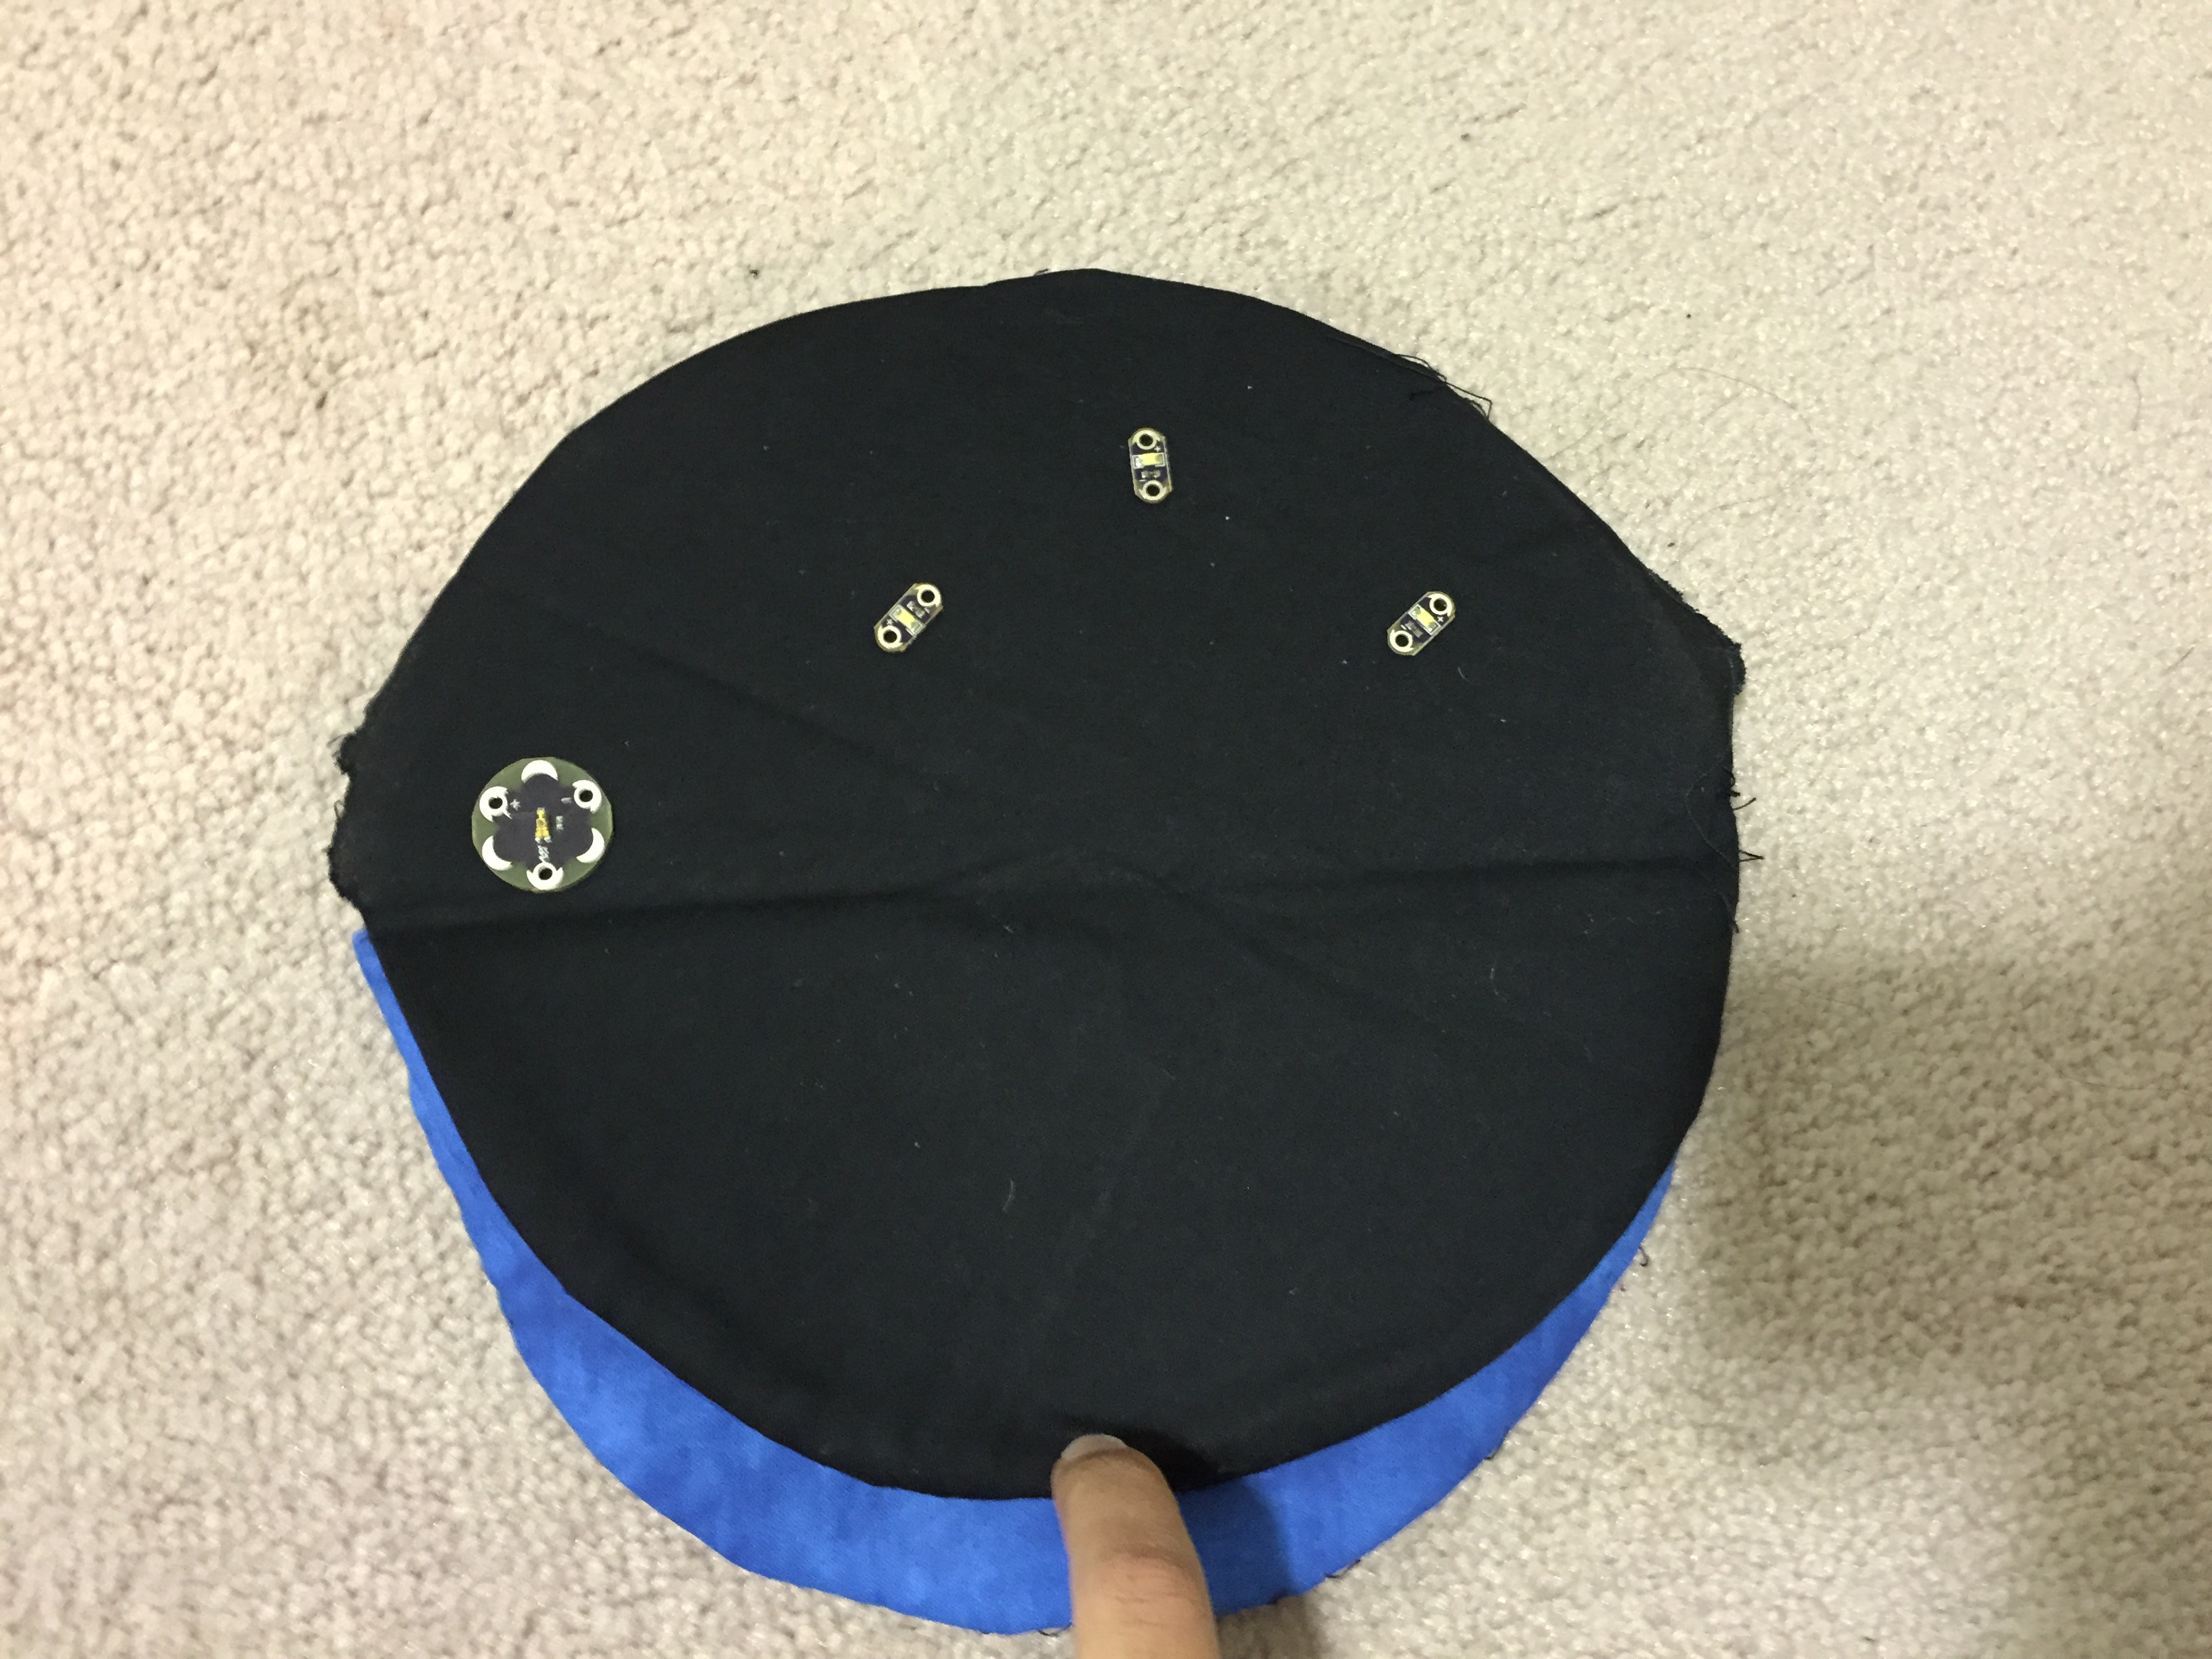
Place the remaining three LEDs on the front of the night panel. Using a very long piece of thread,
stitch through all of the positive connections on these LEDs and around the bottom edge of your project to
Pin A0, using the diagram as a guide.
Using another very long piece of thread, stitch through all of the - pins of all LEDs, the light sensor,
and buzzer ending at Pin 5 as shown in the stitch diagram. Be sure to follow the path in the template,
beginning with the LED between the battery and buzzer.

Use this template to decorate your day panel with coloured felt and stickers. Cut out a sun and paste the
felt cut-outs in the position of your choice or following the placements of the component diagram.
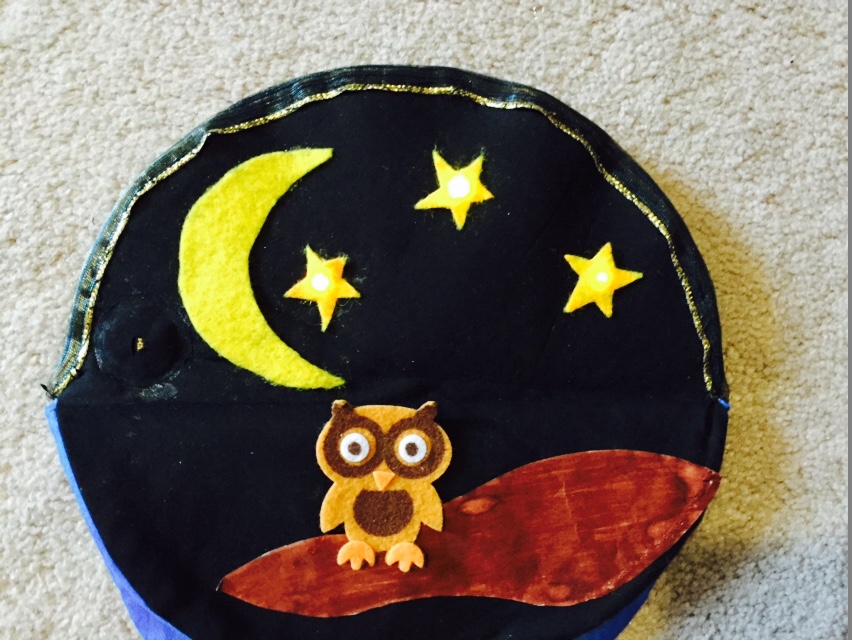
Use this template to decorate your night panel with coloured felt and stickers. Cut out a moon and branch then paste the
felt cut-outs in the position of your choice or following the placements of the component diagram.
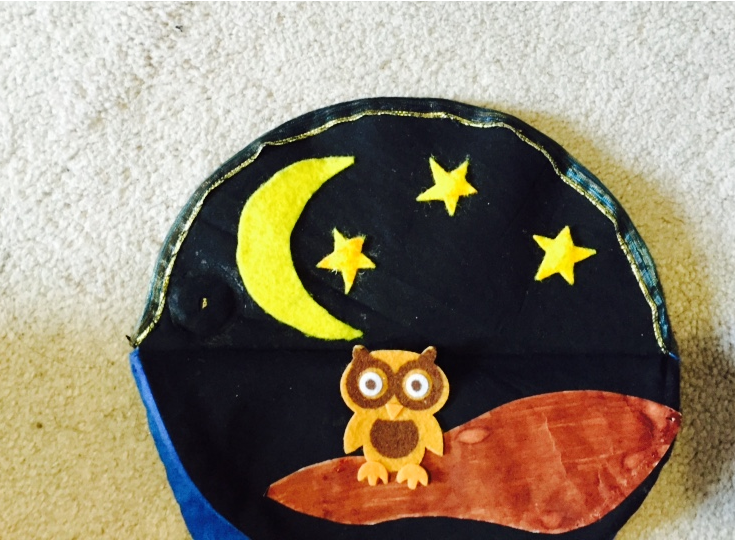
Cut out three felt stars out of yellow or white felt and poke a hole through the center with a pencil.
Then add fabric glue the edges of stars and place them onto the night LEDs so that the LEDs are covered
and the light can still shine though the holes.
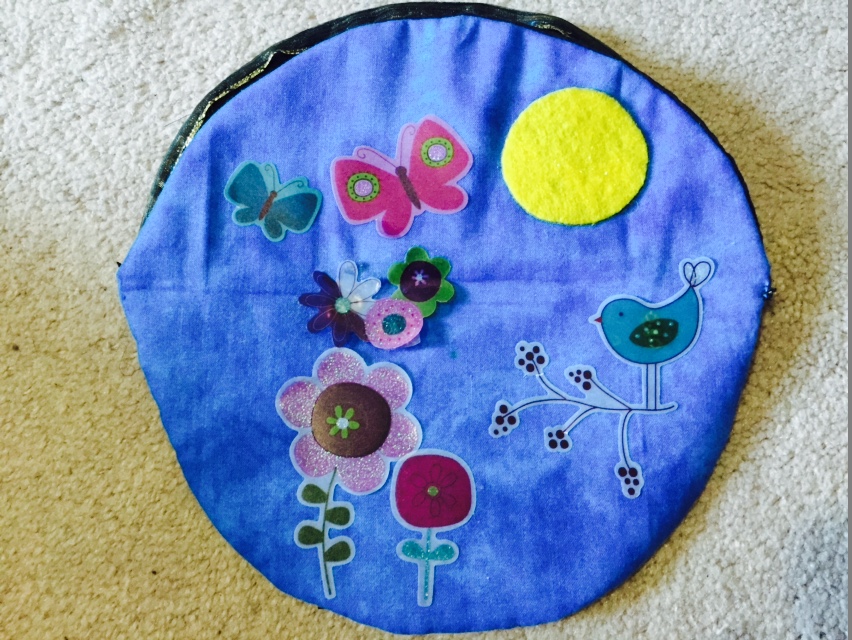
Place clear flower or bird stickers over the day LEDs. Add as many decorations as desired until you
are satisfied with the design.
Moving onto the source code. Save the source code below in the Arduino directory. Connect the FTDI breakout
board to the LilyPad and upload the code using the Arduino IDE. Insert a CR2032 battery into the battery holder,
flip the switch on. Congratulations, you have just made your very own musical flip toy using the LilyPad Arduino!
Source Code:
Considerations:
Many of the connections were soldered with 30 AWG wire as a secure alternative to the conductive thread.
Conductive thread is not insulated and so any contact between the thread lines with each other may easily
cause a short circuit. Using insulated wire significantly extends battery life as well as reduces risk of
short circuits and loose connections.