Preparing your Arduino
-
A few steps need to be taken to ensure that your Arduino is ready for action!
The instructions below are based off the Arduino getting started guide.
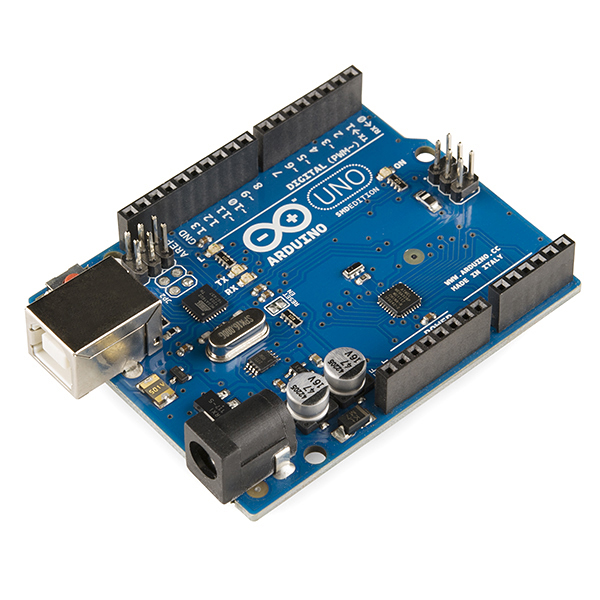
The Arduino UNO is the board of choice for the projects designed **HERE**. However, older models should be capable of performing the same tasks.
Your board should have came with a USB A-to-B cord. This cord is what allows us to program the arduino, as well as power the board. Any USB A-to-B cable should be compatible with the Arduino.
The first thing you should do is download the Arduino Integrated Development Environment from this link. Be sure to install to the version that is compatible with your Operating System (Windows, Mac, or Linux).
Plug your Arduino into your computer via USB. LED labelled PWR or ON should light up.
Installing Drivers
When you first connect your Arduino to a PC, Windows will attempt to install the Drivers. Unfortunately, Window's is not always successful in doing so. Don't threat!
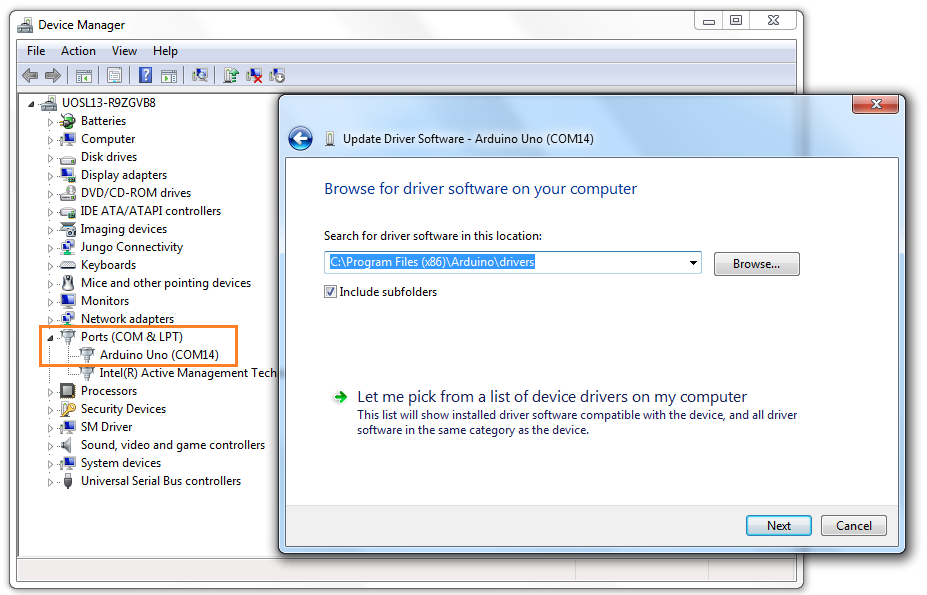
Navigate to Device Manager by clicking Start and searching for Device Manager. If you open the Ports (COM & LPT) tab you should see Arduino UNO listed. Right-click and select Update Driver Software and choose Browse my computer for driver software. You will need to browser your computer to where you installed the Arduino IDE.
Open the Arduino folder and select the drivers folder and hit OK. Your final path should look similar to: C:\Program Files (x86)\Arduino\drivers.
Clicking Next should successfully install the driver.