LED Bracelet
-
Create a bracelet that twinkles at the flip of a switch.

This tutorial was based on the bracelet developed by the writers of Sew Electric.
This circuit uses the LilyTiny microcontroller to light up an LED on your own handmade bracelet.
| Component | Quantity | Description | Where to Buy |
|---|---|---|---|
| Ribbon | 3 Varying Designs/Colours |  |
Local Variety Store |
| Measuring Tape | 1 |  |
Local Variety Store |
| Fabric Glue | 1 | Local Variety Store | |
| Flower | 1 | 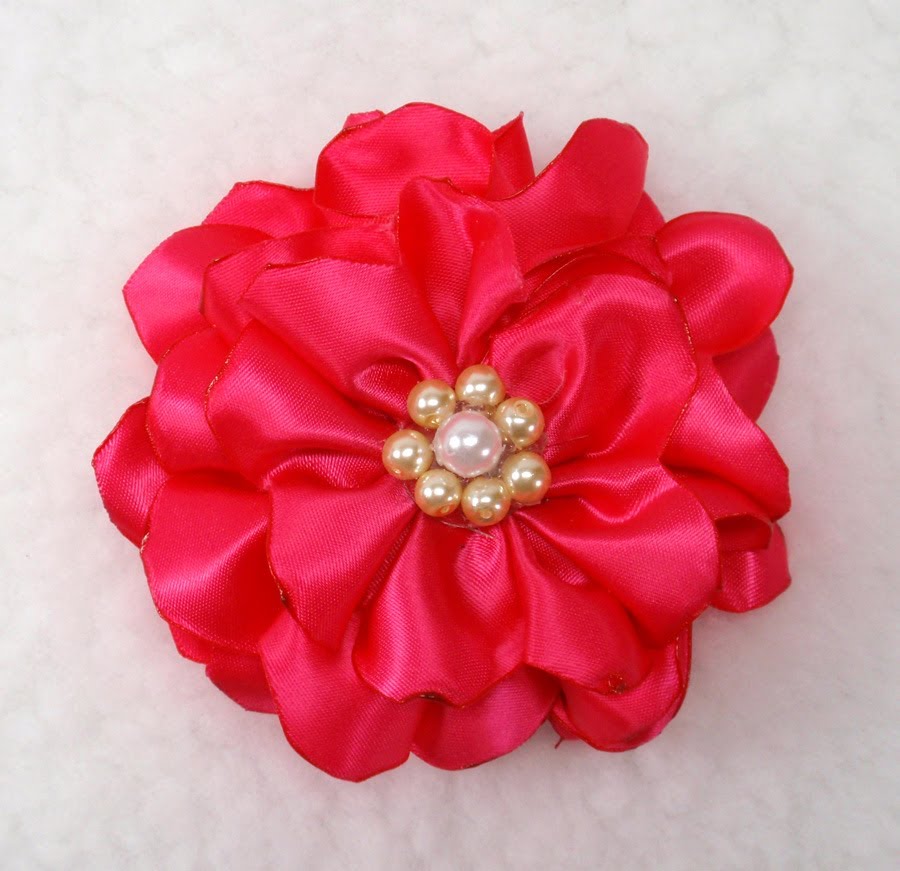 |
Local Variety Store | LilyTiny | 1 | 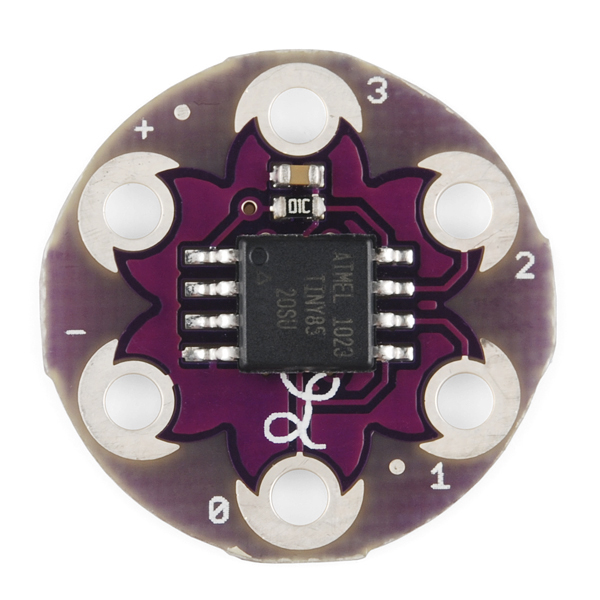 |
SparkFun Electronics | White LilyPad LED | 1 | 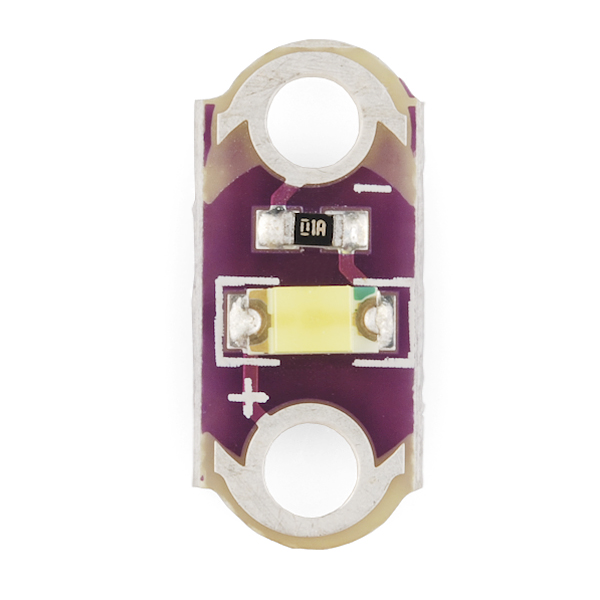 |
SparkFun Electronics | CR2032 Coin Cell Battery | 1 |  |
Local Variety Store | LilyPad Coin Cell Battery Holder - Switched | 1 | 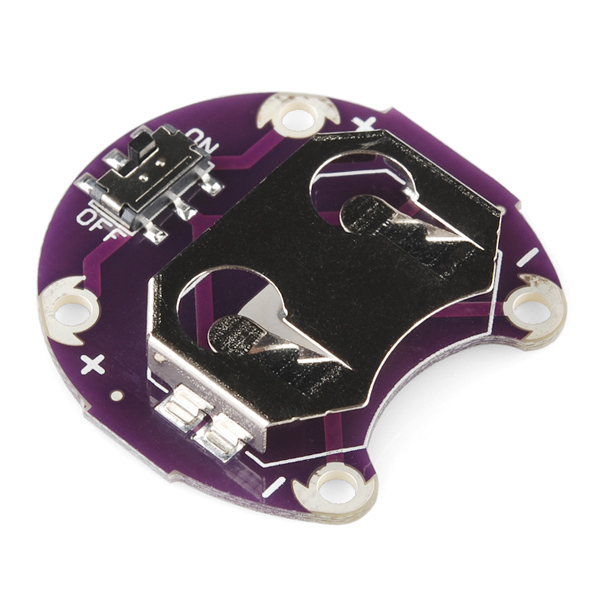 |
SparkFun Electronics | 30 AWG Solid Wire - 50 ft. | 1 | 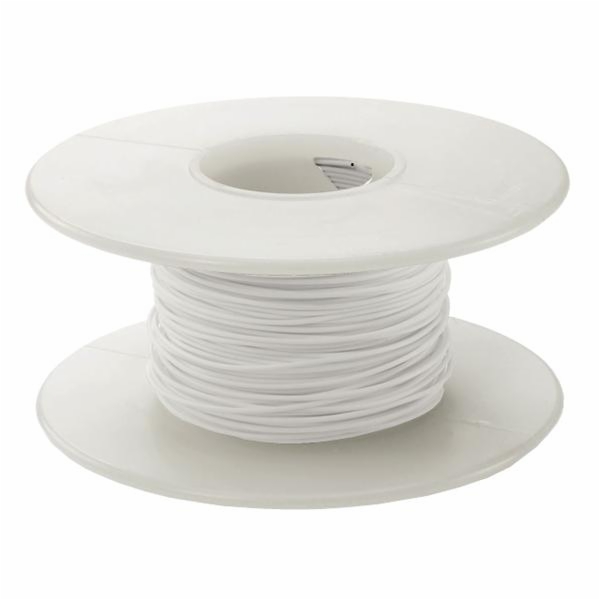 |
Canada, USA |
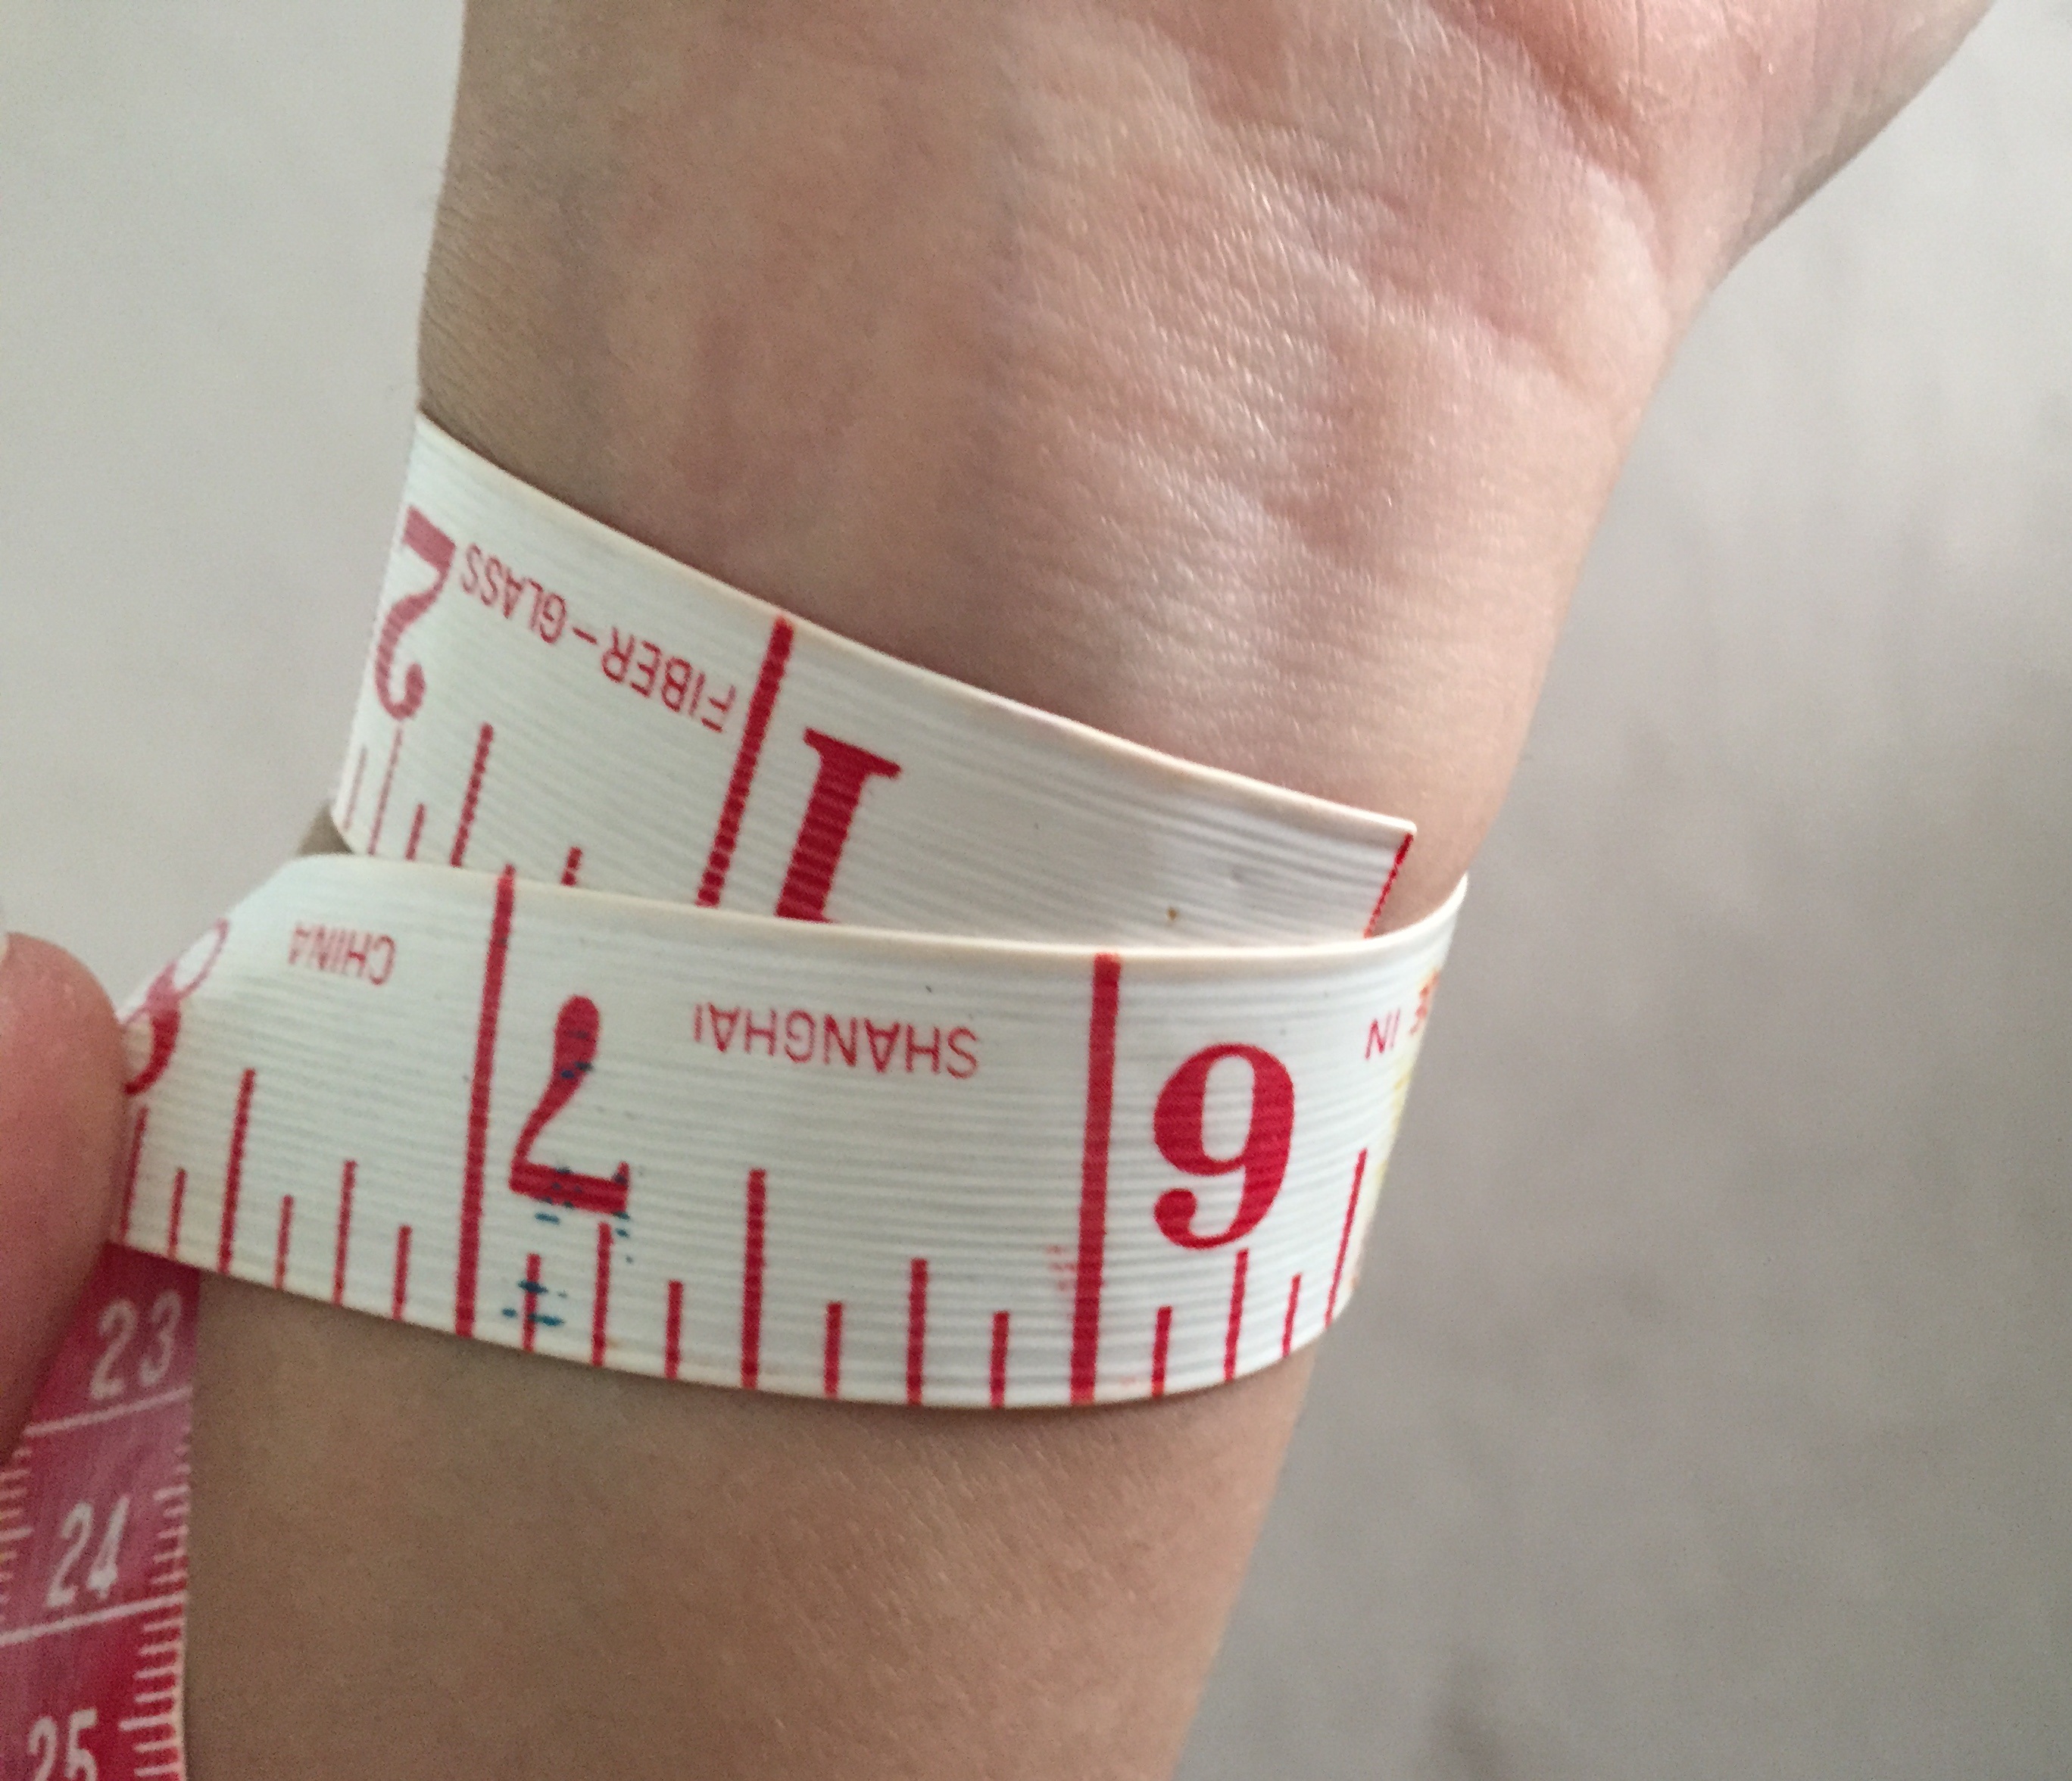
Wrap the measuring tape around your wrist and note down the size of your wrist + 3 inches.
This will be the length of the ribbon used for the bracelet. If you do not have a measuring tape you
can use the ribbon itself and mark the ribbon at the edge. Then cut out the base ribbon you will be using for
the bracelet using the measured length.
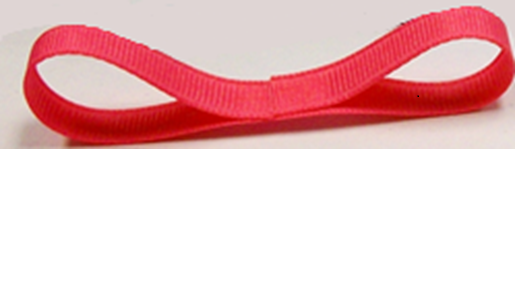
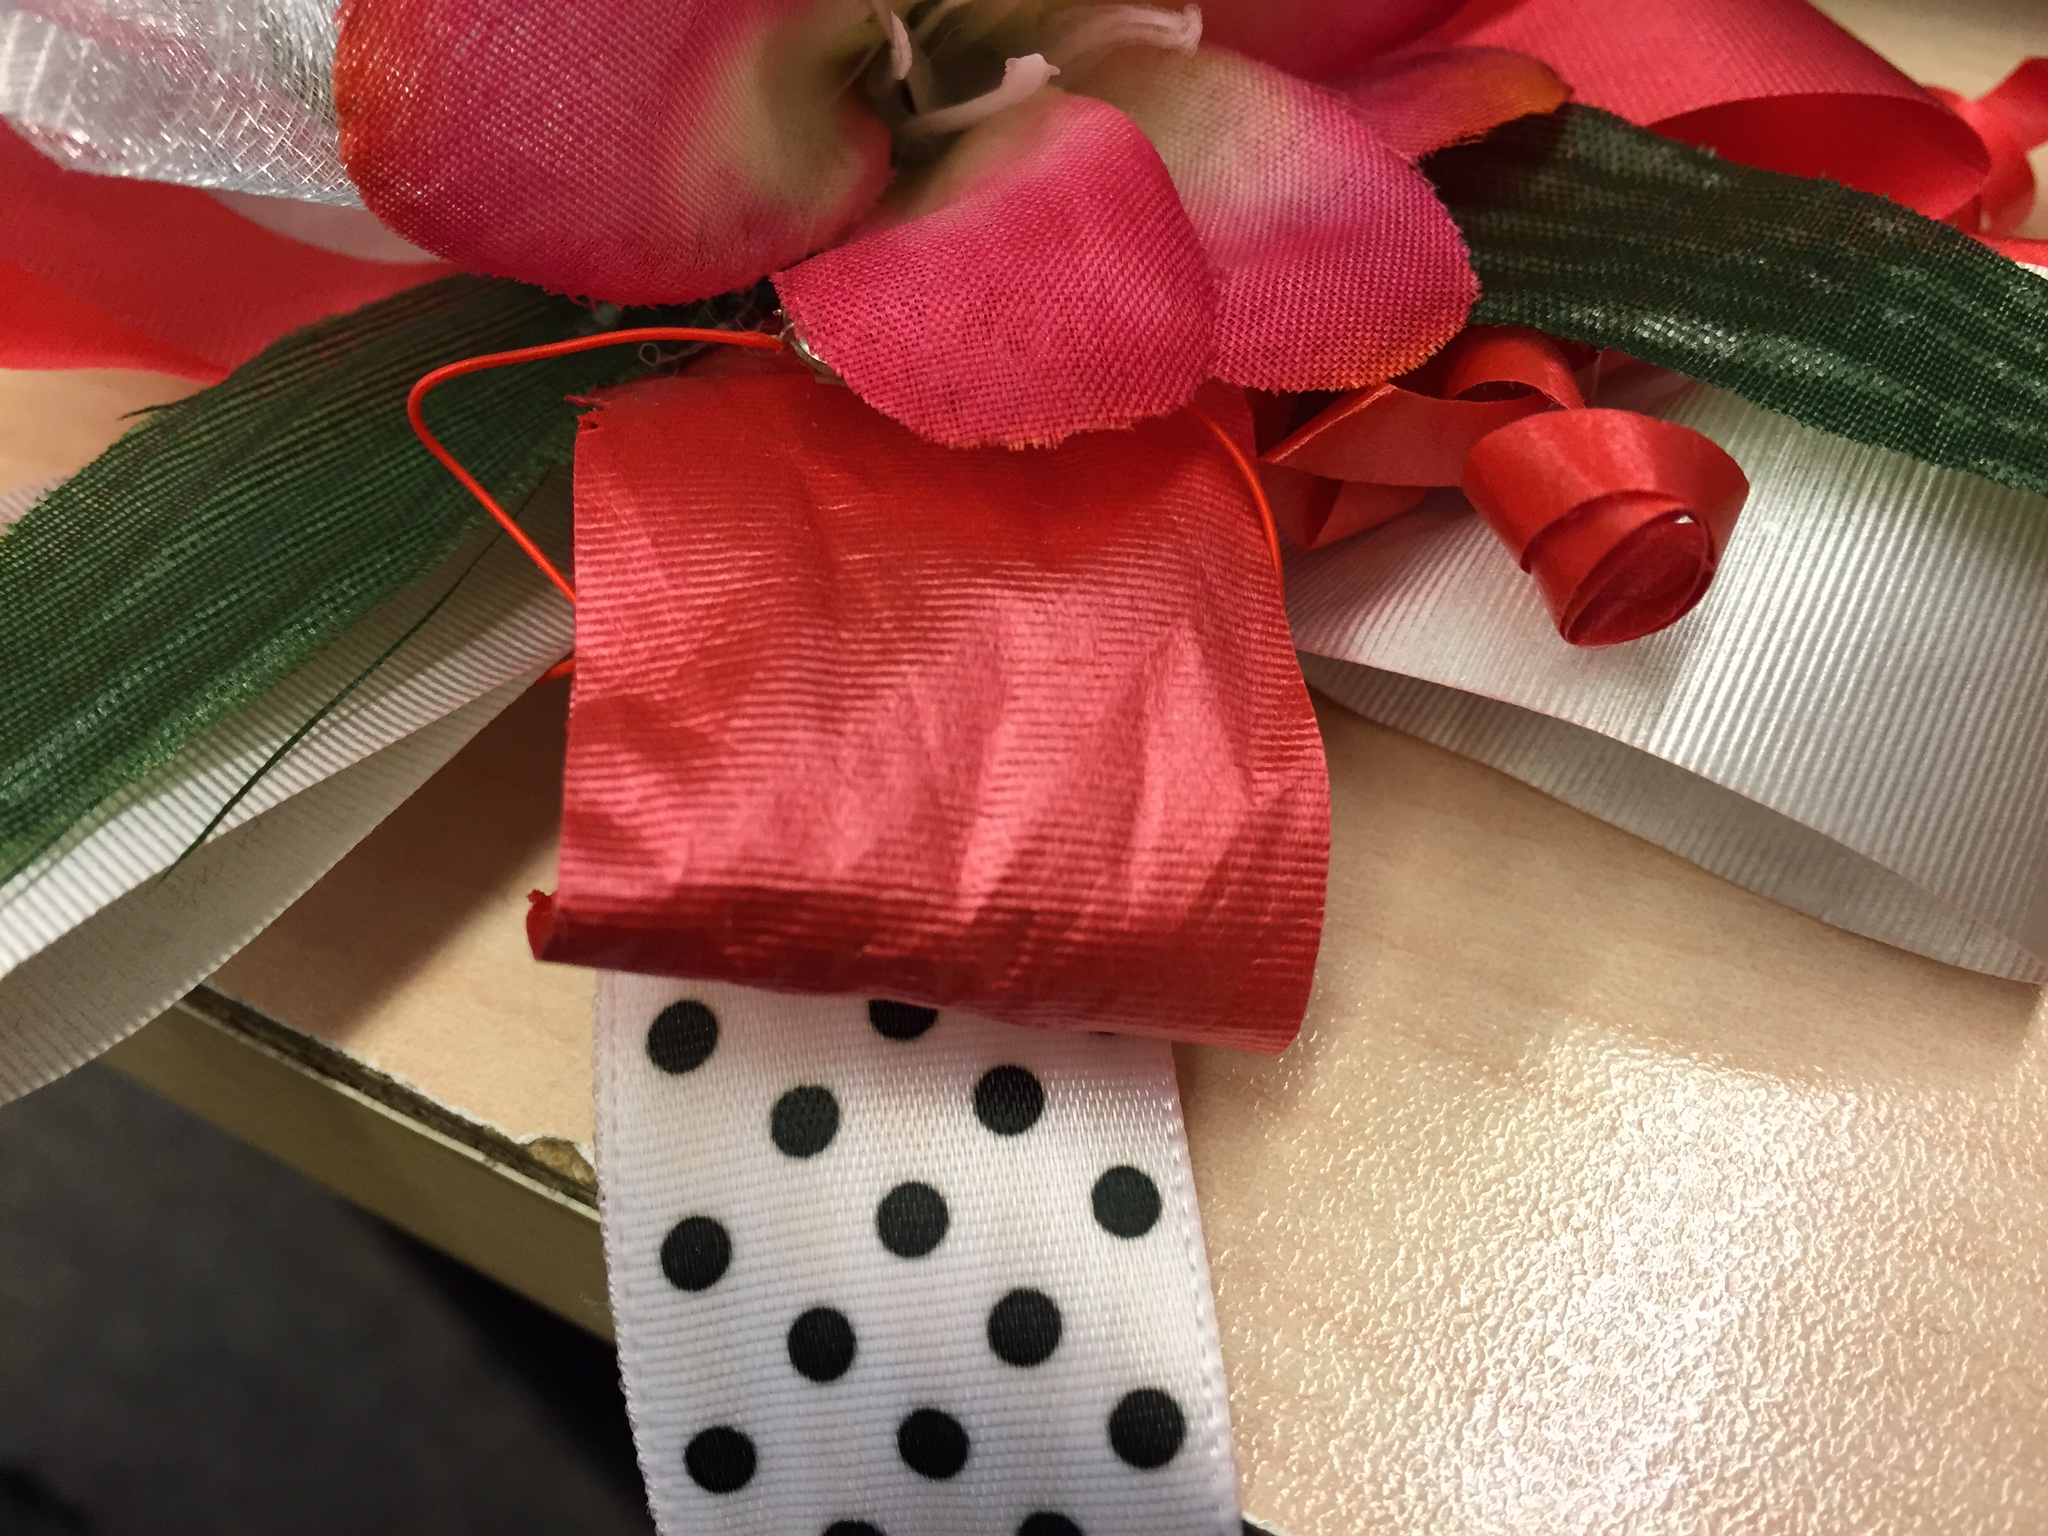
Using two different coloured ribbons, cut four 30cm ribbons. For this design, two red and two white ribbons were cut.
Take both ends of a ribbon and fold them in the middle so that approximately 1”
or 3cm overlap and apply glue between the two overlapped ends. Repeat this step
for the remaining three 30cm ribbons.

Place the centers of two of the same colour folded ribbons on each other and place them so that they form a plus shape.
Then glue the two ribbons together at their center. Repeat this step for the other pair of folded ribbons.

You should now have two pairs of plus shaped ribbons. Glue these two pairs together so that their folding ends cross.
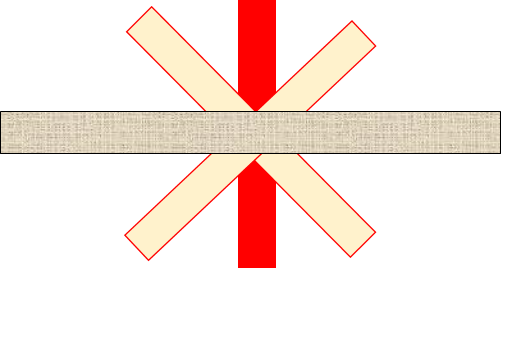
Now glue the center of your base ribbon to the center of your ribbon fold.
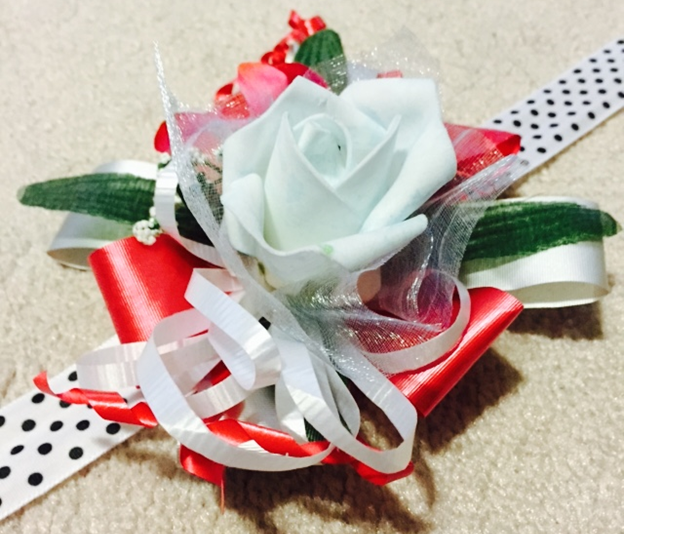
Glue a fabric flower to the center of the front side of your bracelet.
You can use additional flowers and ribbons to decorate it further.
The decorative element is now complete and we can move onto constructing the circuit!

Use double-sided tape or fabric glue to stick the coin cell battery holder to the back of the base ribbon.
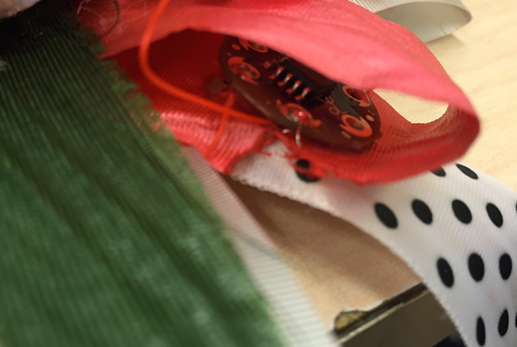
Then use glue or double-sided tape to stick the LilyTiny inside one of the ribbon folds.
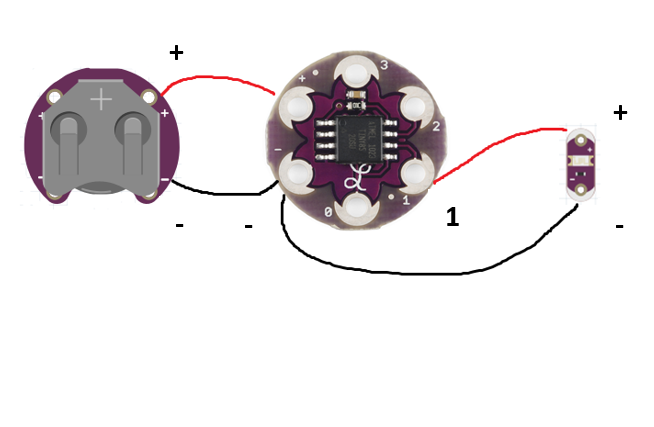
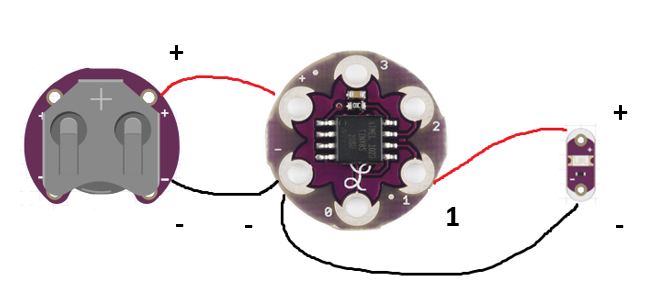
Cut four approximately 4cm 30 AWG wires and solder the wires with the positive and negative terminals of the LilyTiny and battery holder.
The + pin of the battery holder should connect to the + pin of the LilyTiny and the – pin of the battery holder
should connect to the – pin of the LilyTiny. Solder the + pin of one white LED with Pin 1 of the LilyTiny.
Solder the – pin of the LilyTiny with the – pin of the LED.
Hide the LED under a flower petal or flower leaf.
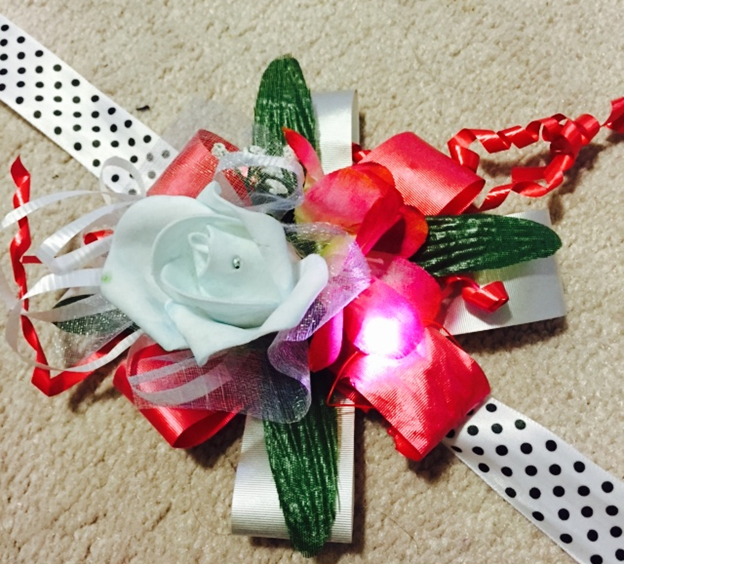
Insert a CR2032 battery into the battery holder and flip the switch on.
Congratulations, you have just completed your LED bracelet!