Trivia Game
-
This tutorial will teach you how to create a basic, multi-person trivia game that you can share with others.
This tutorial assumes you have followed the lessons in the Getting Started section of the site.
You will need to have an internet connection set up as well.
Sections:
1. Resource Files
2. Adding Questions
3. Adding Players
4. Adding Physical Interaction via GPIO
5. Gameplay Example
You will need to have an internet connection set up as well.
Sections:
1. Resource Files
2. Adding Questions
3. Adding Players
4. Adding Physical Interaction via GPIO
5. Gameplay Example
1. Resource Files
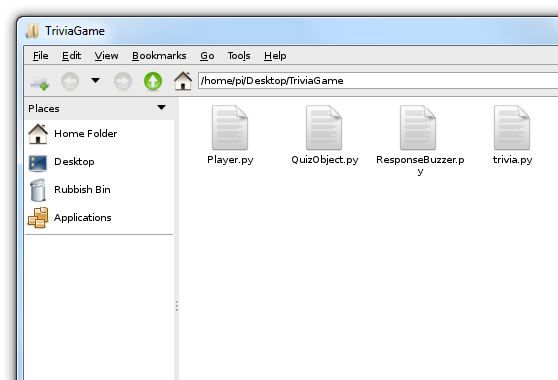
The first thing we'll need to do is create a folder for the new project.
Right-click somewhere on the desktop and select Create New... then Folder. Call the folder TriviaGame.
If you are following this tutorial from another computer, you will need to open the Start menu and navigate to Internet > Web Browser. Enter the address to this page. Right-click the file links and choose Save Link. A pop-up will appear, choose Save As. Navigate to Home > Desktop and then to the folder you created, TriviaGame.
QuizObject
ResponseBuzzer
Trivia
Right-click somewhere on the desktop and select Create New... then Folder. Call the folder TriviaGame.
If you are following this tutorial from another computer, you will need to open the Start menu and navigate to Internet > Web Browser. Enter the address to this page. Right-click the file links and choose Save Link. A pop-up will appear, choose Save As. Navigate to Home > Desktop and then to the folder you created, TriviaGame.
Download the following Resources:
PlayerQuizObject
ResponseBuzzer
Trivia
You may have noticed that these files have the extension
Simply right-click each downloaded file and select Rename. Remove the .txt extension and replace it with .py
Once you have downloaded and modified all the files, minimize the web browser window. Open the TriviaGame folder and right-click the trivia.py file. Select Geany from the list. The code should appear in the Geany IDE.
.txt. Since we are learning Python, we will need to change them to .py
Simply right-click each downloaded file and select Rename. Remove the .txt extension and replace it with .py
Once you have downloaded and modified all the files, minimize the web browser window. Open the TriviaGame folder and right-click the trivia.py file. Select Geany from the list. The code should appear in the Geany IDE.
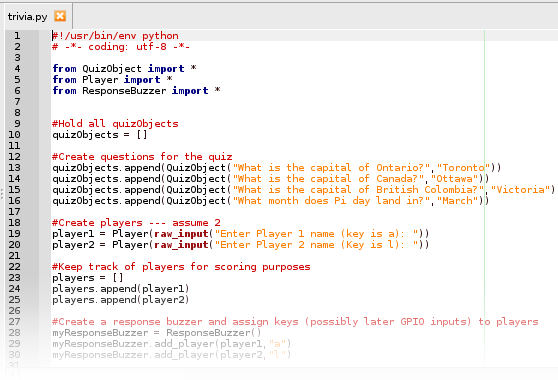
2. Adding Questions
Some basic questions have already been entered as examples. They can be seen on lines 13 to 16.
The line
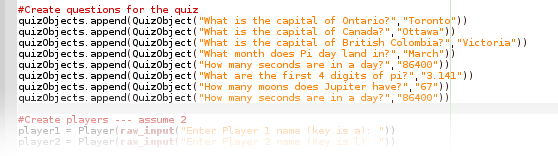
You may add as many of these lines as you'd like.
The line
quizObjects.append(QuizObject("Question","Answer")) is what stores your unique questions and answers.
You may add as many of these lines as you'd like.
3. Adding Players
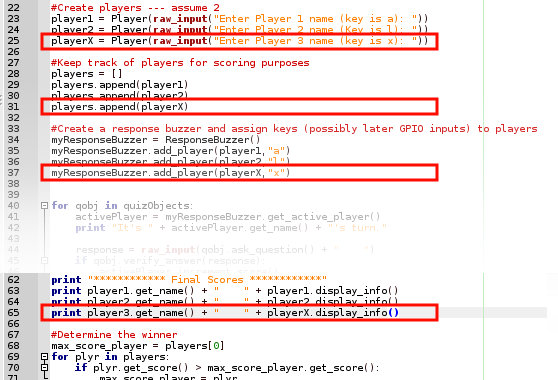
More players can be added to the game by simply adding four new lines as shown on the left.
Note that "X" is just an arbitrary identifier. Any letter or number can be used as long as it's consistant throughout the code.
The first line will assign your name to a unique Player variable.
The following line simply adds you to a list of players.
The third line assigns a keyboard key as your "buzzer". In this case, keys "a", "l", and "x" are being used. Any alpha or numeric keys may be used.
The last line simply returns your name along with your associated score (how many questions you entered correctly).
4. Adding Physical Interaction via GPIO
| Component | Quantity | Description | Where to Buy |
|---|---|---|---|
| 1 kΩ Resistor | 2 | 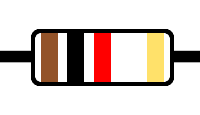 |
Canada, USA |
| Insulated Wires | ~4 |  |
Kit or M/M Cables |
| Green LED | 1 | 
| Canada |
| Red LED | 1 | 
| Canada |
We are now going to make our game a bit more interactive!
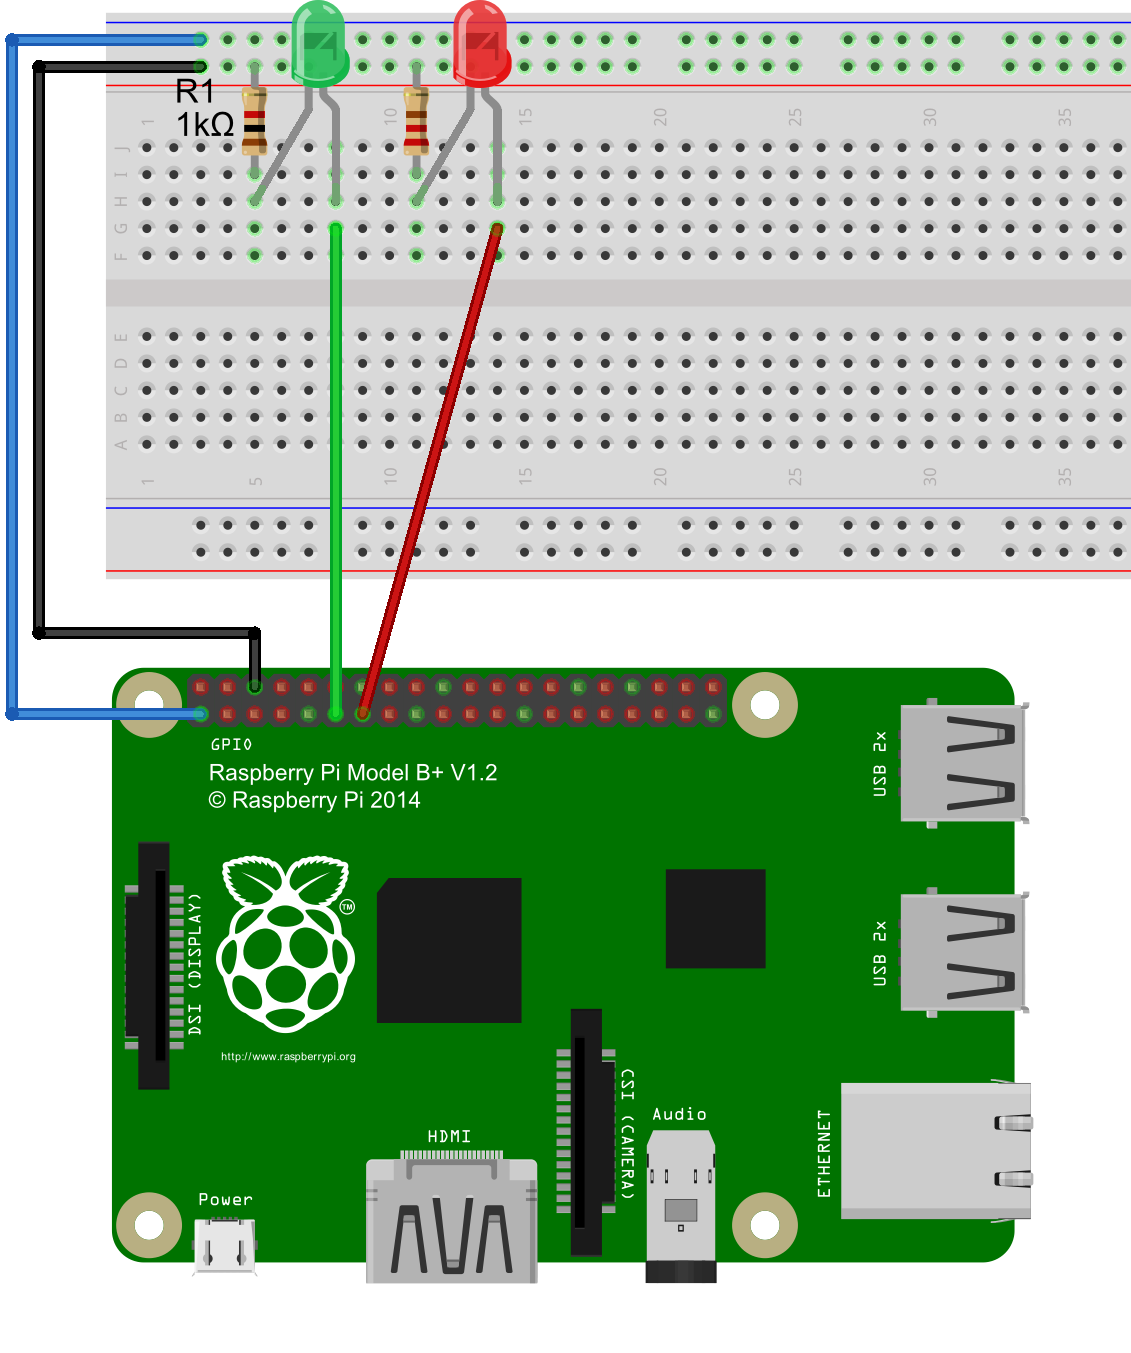
Wire together the circuit shown below. Each wire is connected to a unique pin on the Raspberry Pi. We will be modifying our previous code to turn on the LEDs when an answer is wrong or right.
GPIO stands for General-Purpose Input/Output. This is one of the features that makes the Raspberry Pi a powerful tool. One can interact with the physical world by creating outputs like blinking LEDs and flashy LCDs, or receiving inputs touchscreens and sensors.
Wire together the circuit shown below. Each wire is connected to a unique pin on the Raspberry Pi. We will be modifying our previous code to turn on the LEDs when an answer is wrong or right.
| Wire | Pin |
|---|---|
| Blue | 3V |
| Black | Ground |
| Green | GPIO 17 |
| Red | GPIO 27 |
GPIO stands for General-Purpose Input/Output. This is one of the features that makes the Raspberry Pi a powerful tool. One can interact with the physical world by creating outputs like blinking LEDs and flashy LCDs, or receiving inputs touchscreens and sensors.
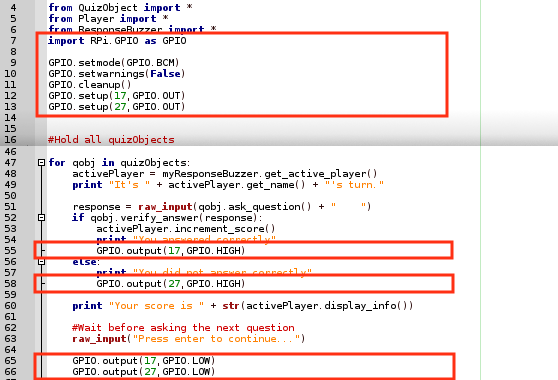
Once everything is wired, open up trivia.py in the Geany editor. Add the highlighted code shown in the figure on the left.
Note: your line numbering will likely be different.
You may notice some connections between these new lines of code and the circuit you built above. The lines
Note: your line numbering will likely be different.
You may notice some connections between these new lines of code and the circuit you built above. The lines
GPIO.setup(17,GPIO.OUT) and GPIO.setup(27,GPIO.OUT) establish pins 17 and 27 (connected to our LEDs) as output pins; in other words, they will be sending data.
GPIO.LOW and GPIO.HIGH are methods that control the state of the pins.
They are quite literal; .LOW means no current is being fed to the pin, while .HIGH means that there is. It is essentially the same as flicking a switch.
5. Gameplay Example

When you run the game, the first thing you will be asked to do is enter the names of the players. This will be limited by number of players you created in the previous steps.
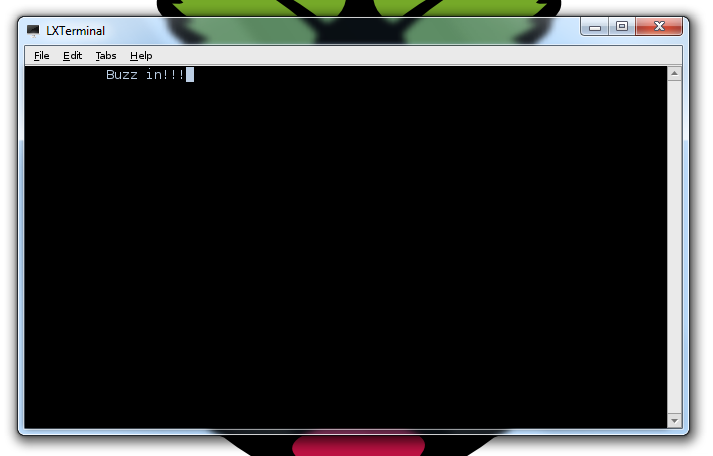
The key is the keyboard button that you must press to "Buzz in". The first one to do so will asked to answer the question.
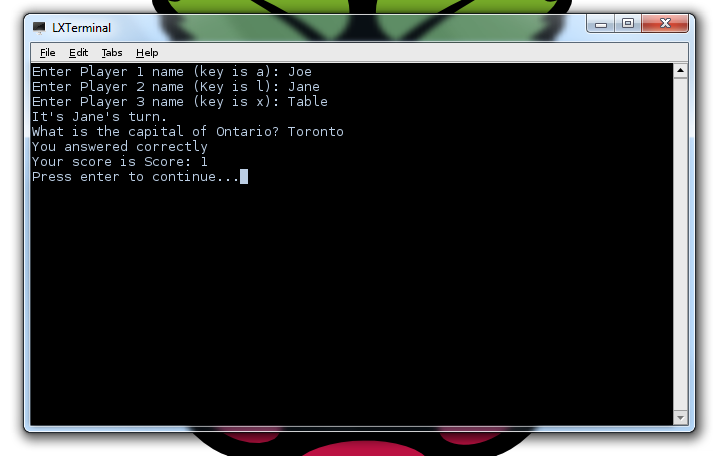
A question from the list you created will appear and prompt you for an answer.
Answer the question correctly will reward the player with 1 point. Answer wrong will reward them none.
Answers are not case-sensitive.
Answer the question correctly will reward the player with 1 point. Answer wrong will reward them none.
Answers are not case-sensitive.
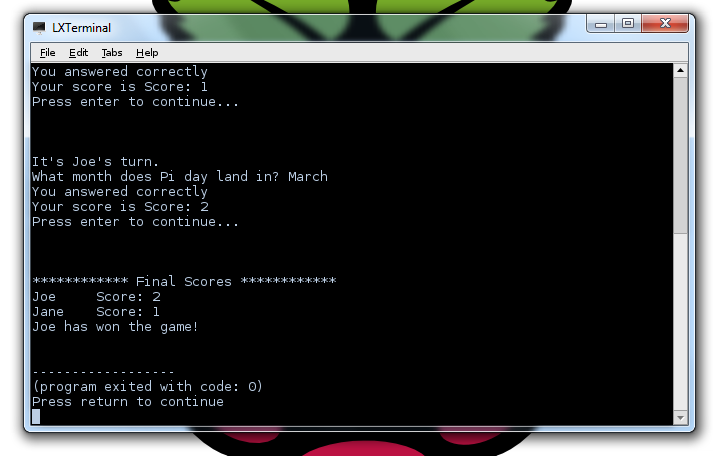
Once all the questions have been answered, a final score will appear display each uses total points.
The winner will be clearly stated.
The winner will be clearly stated.