Preparing your Raspberry Pi
-
A few steps need to be taken to ensure that your Raspberry Pi is ready for action!
The instructions below are based off the RaspberryPi.org Quick Start Guide.

Source: https://www.flickr.com/photos/42325803@N07/8118758647/
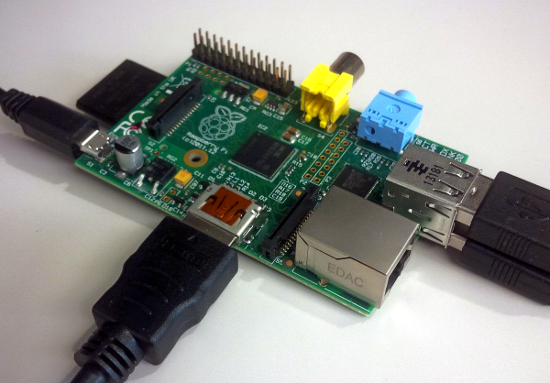
The Raspberry Pi model B is the board of choice for the projects designed here. However, other models should be capable of performing the same tasks.
Your board should have came with a micro USB cord. This cord is what allows us to power the Raspberry Pi. Any 5V micro USB cable should be compatible with the Raspberry Pi.
You will require following supplies to start working with your Raspberry Pi:
Your board should have came with a micro USB cord. This cord is what allows us to power the Raspberry Pi. Any 5V micro USB cable should be compatible with the Raspberry Pi.
You will require following supplies to start working with your Raspberry Pi:
- SD Card (8 GB recommended) - No SD card? Read Section 1 below
- Display with HDMI input (ideally)
- HMDI cable
- USB keyboard
- USB mouse
- USB A-B Micro Cable
1. Preparing your SD Card

The SD card is the brain of the Raspberry Pi; it contains the operating system that provides the user with a familiar graphical interface.
You can purchase an SD card with all the software you need, pre-installed, from the RaspberryPi.org Store.
If you already own a NOOBS SD card, you may skip to Section 2: Installing the Operating System.
If you have an empty SD card, you will need to install NOOBS (New Out-of-Box Software) from the Raspberry Pi website. Here is a direct link to the NOOBS.zip.
Once the file has finished downloading, you will need to extract the content by right clicking the NOOBS_v1_x_xx.zip (x's represent current version) and selecting Extract to "NOOBS_v1_x_xx\".
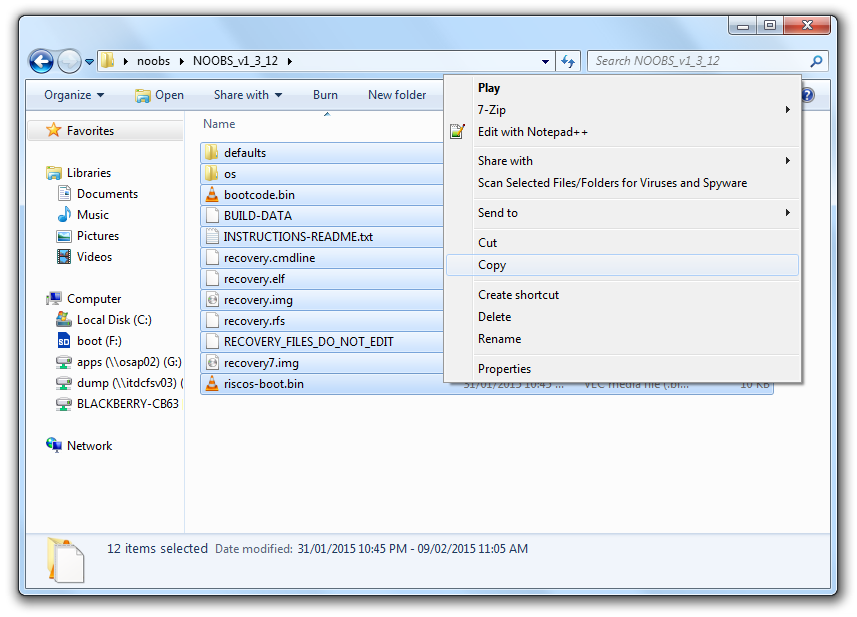
Now, make sure you have your SD card inserted and its associated folder open.
Copy all the contents from the NOOBS_v1_x_xx folder onto the SD card.
2. Installing the Operating System
Complete the following steps to prepare your Raspberry Pi board:
-
1. Insert the SD card into the SD card slot on the Raspberry Pi
2. Plug in the USB mouse and keyboard into the USB ports on the Raspberry Pi
3. Connect the Raspberry Pi to the display device either with the HDMI to DVI cable or with the composite video cable
4. Connect the USB A-B micro cable to the power supply, laptop, or desktop, then connect it to the Raspberry Pi
Source: http://www.raspberrypi.org/archives/4100
You should be able to see the Raspberry Pi booting up on your screen.
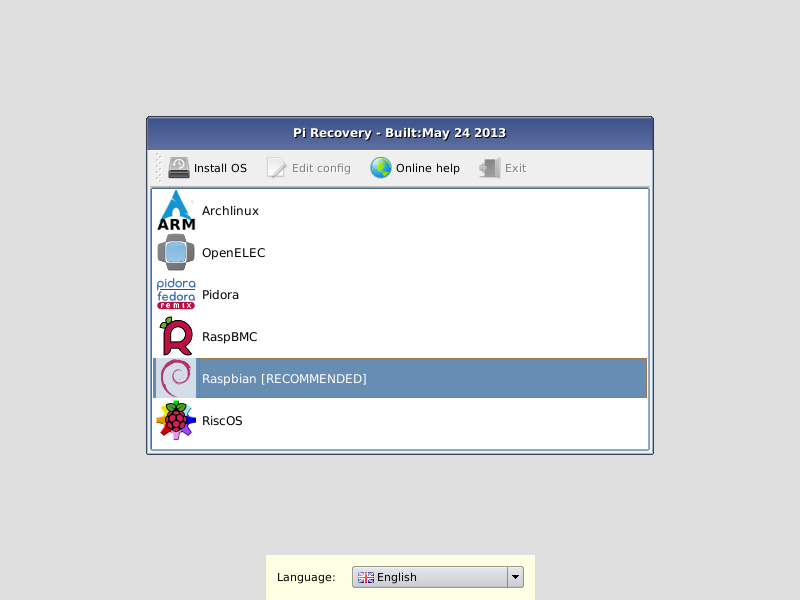
Once the booting process is finished, New Out of Box Installer (NOOBS) will ask you which operating system to install.
Raspbian is the recommend OS as it is the one that will be used for all further tutorials.
The Raspberry Pi will now boot to Raspbian by default; but, NOOBS can still be accessed by holding down the "Shift" key while the Raspberry Pi is booting up.
The Raspberry Pi will now boot to Raspbian by default; but, NOOBS can still be accessed by holding down the "Shift" key while the Raspberry Pi is booting up.
Source: http://learn.adafruit.com/adafruits-raspberry-pi-lesson-2-first-time-configuration/using-the-whole-sd-card
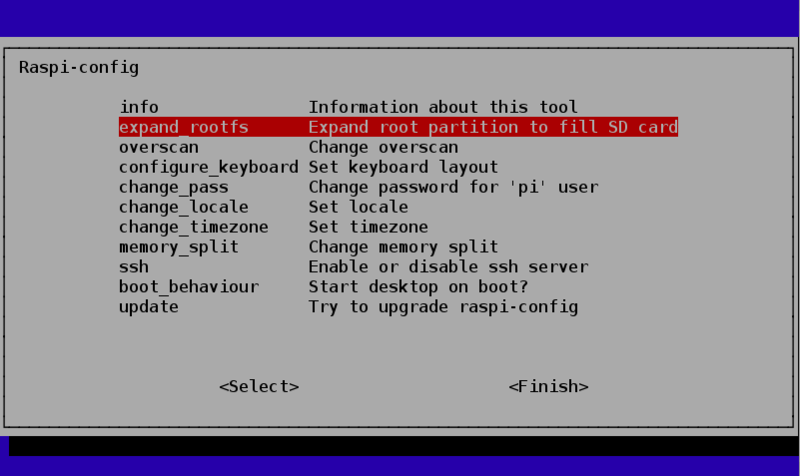
Once Raspbian is installed, the Raspi-config tool will automatically appear on first boot.
Complete the following steps to ensure that your Raspberry Pi is ideally configured:
-
1. Run the expand_rootfs option so that Raspbian is given the most amount of card space possible
2. Try disabling overscan if the full screen is not being used
3. Run configure_keyboard and ensure that the Raspberry Pi knows what keyboard layout you're using
4. Run change_locale and change_timezone to adjust your locale and timezone
5. Once completed, click Finish and reboot the Raspberry Pi
3. Using Raspbian
The Raspberry Pi will now automatically boot into Raspbian as configured.
Once prompted for a login, enter pi as the username and raspberry as the password, noting that nothing will be displayed on screen as you type the password.
You now have a Raspbian Linux command prompt.
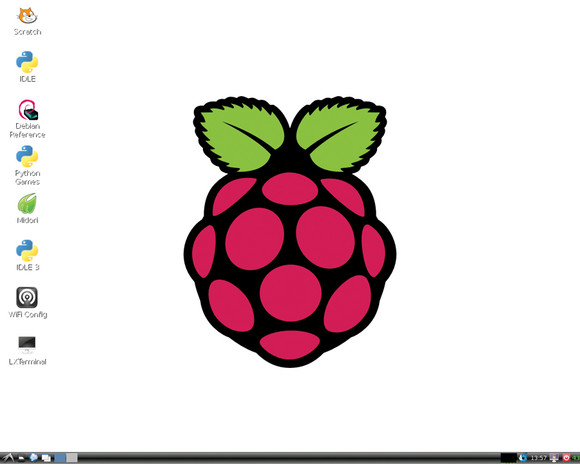
To begin using the graphical desktop, type the command startx in the command line interface. This will display a LXDE desktop. Make yourself familiar with the desktop, try some of the Python Games or navigate the file system.
To begin using the graphical desktop, type the command startx in the command line interface. This will display a LXDE desktop. Make yourself familiar with the desktop, try some of the Python Games or navigate the file system.
4. Installing Packages
Debian, and its derived Raspbian use APT (Advanced Packaging Tool) to manage software packages.
This program is command line based so all the mentioned commands can be ran in either the command line interface from boot-up or in LXTerminal.
In order to install packages, your Raspberry Pi must be connected to the Internet. This can be done simply be connecting it to a router with an Ethernet cable.
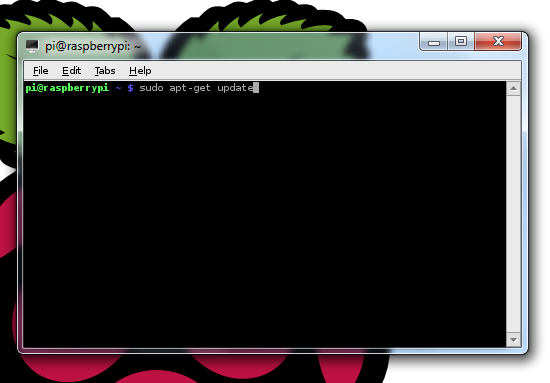
Once the Internet connection has been established, the package list cache should be updated. Do this by running
To install a package run the command
Finally, running
sudo apt-get update .
To install a package run the command
sudo apt-get install "package-name", replacing "package-name" with the name of the package you wish to install.
For example the command sudo apt-get install quadrapassel will install the quadrapassel tetris-like game.
Finally, running
sudo apt-get upgrade will upgrade all installed packages to the latest version captured when the command sudo apt-get update was last run. So, to keep the system up-to-date, run sudo apt-get update and then sudo apt-get upgrade.